
Step 3: Creating a mail account with Freemail
You must have already created a Web of Trust (WoT) identity in step 2 of this guide before proceeding.
Plugin setup
Start by opening the Plugin configuration page.
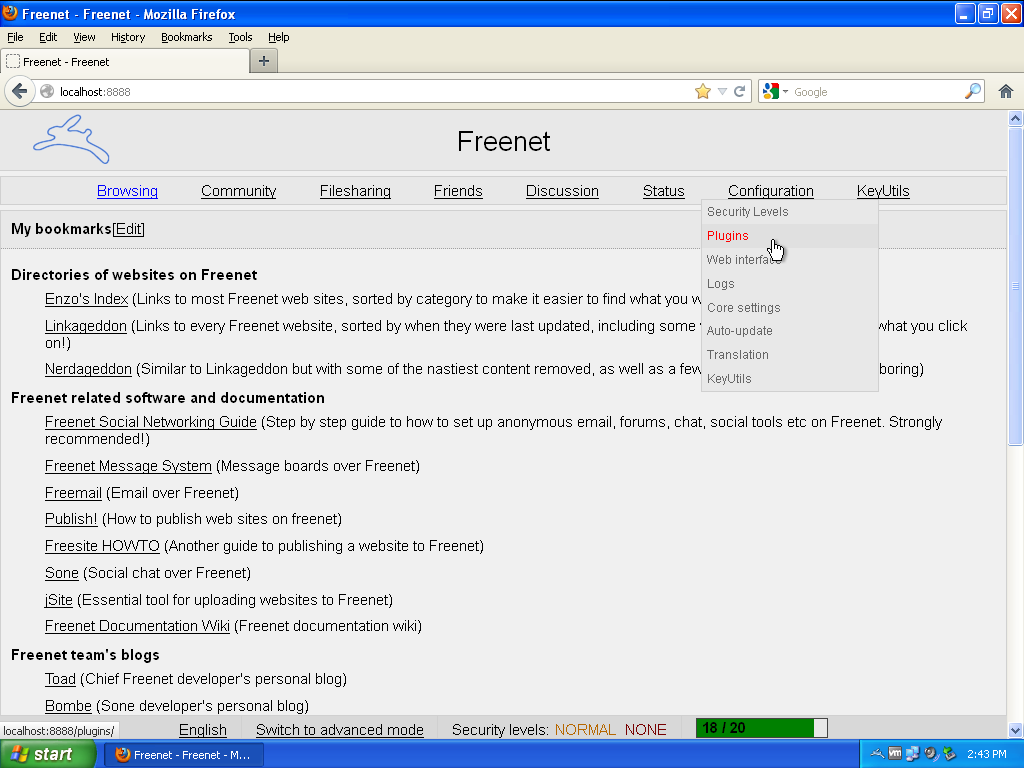
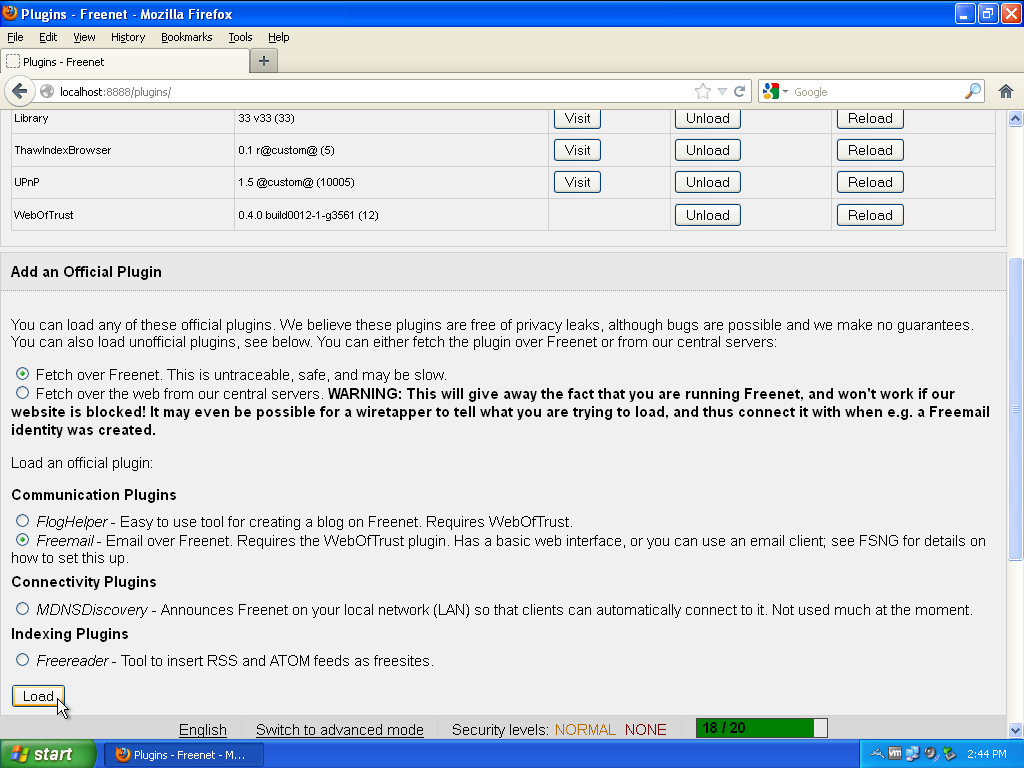
Select the Freemail plugin and click 'Load'.
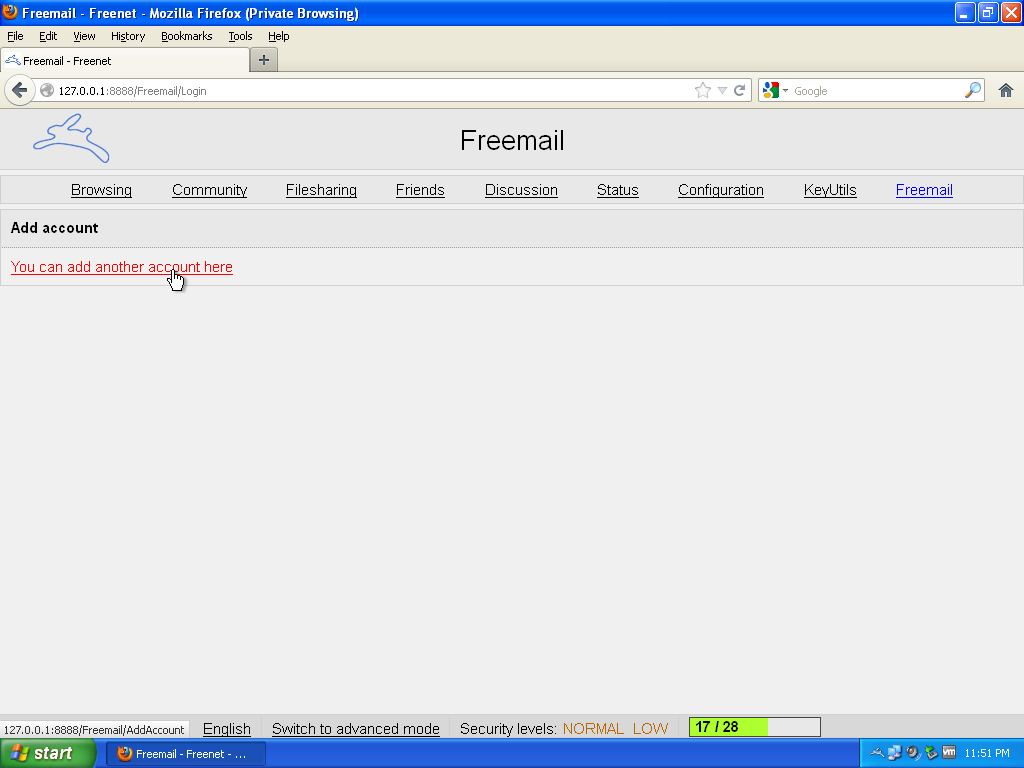
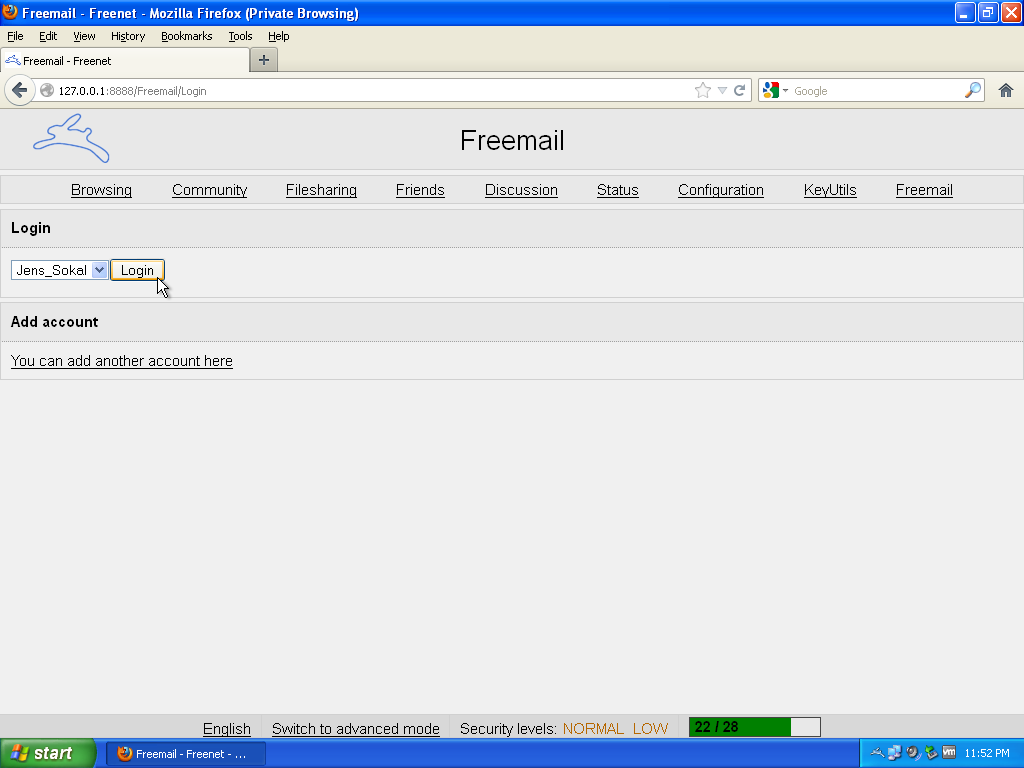
When the plugin is loaded log in to Freemail using the new top-level menu.

Since you don't have any accounts yet you will be prompted to add one.
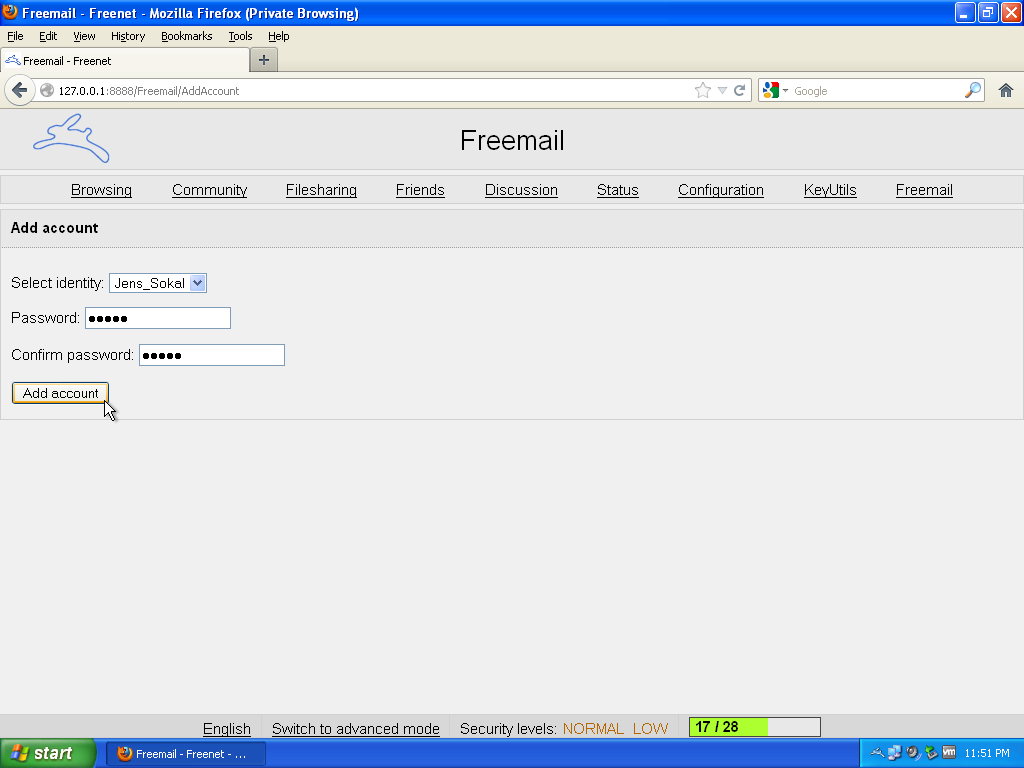
If you have more than WoT identity choose the one you want to create a Freemail account for. Choose a password and click 'Add account'. Don't forget the password because you'll need it later.
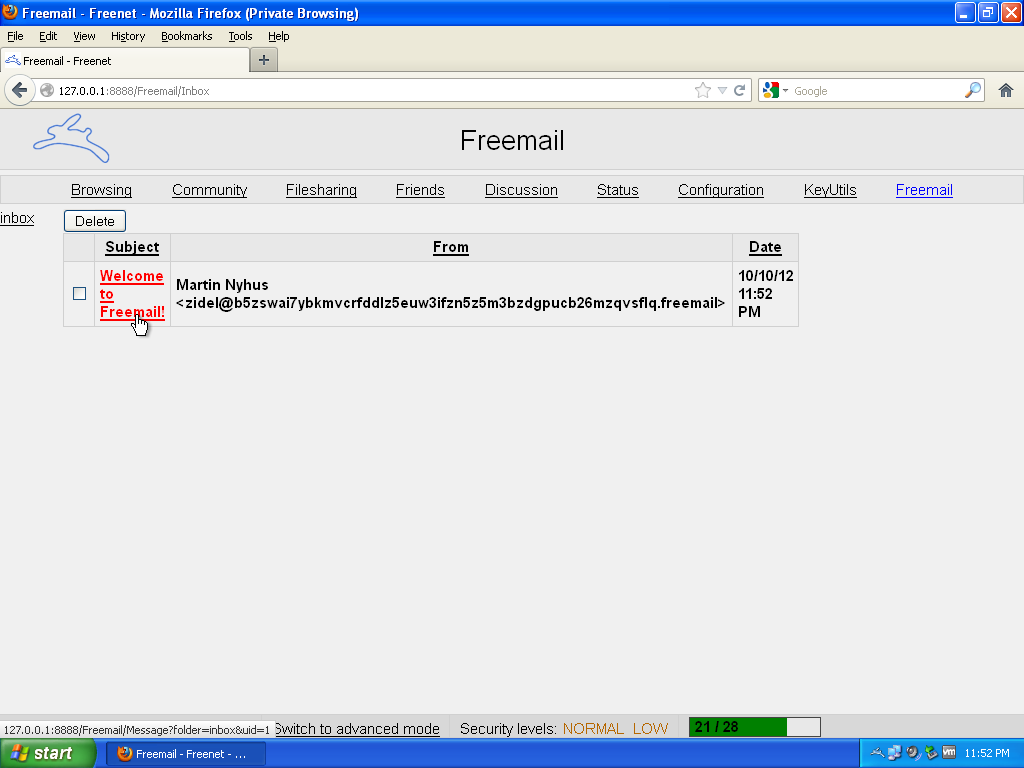
Now that you've created an identity you can log in.
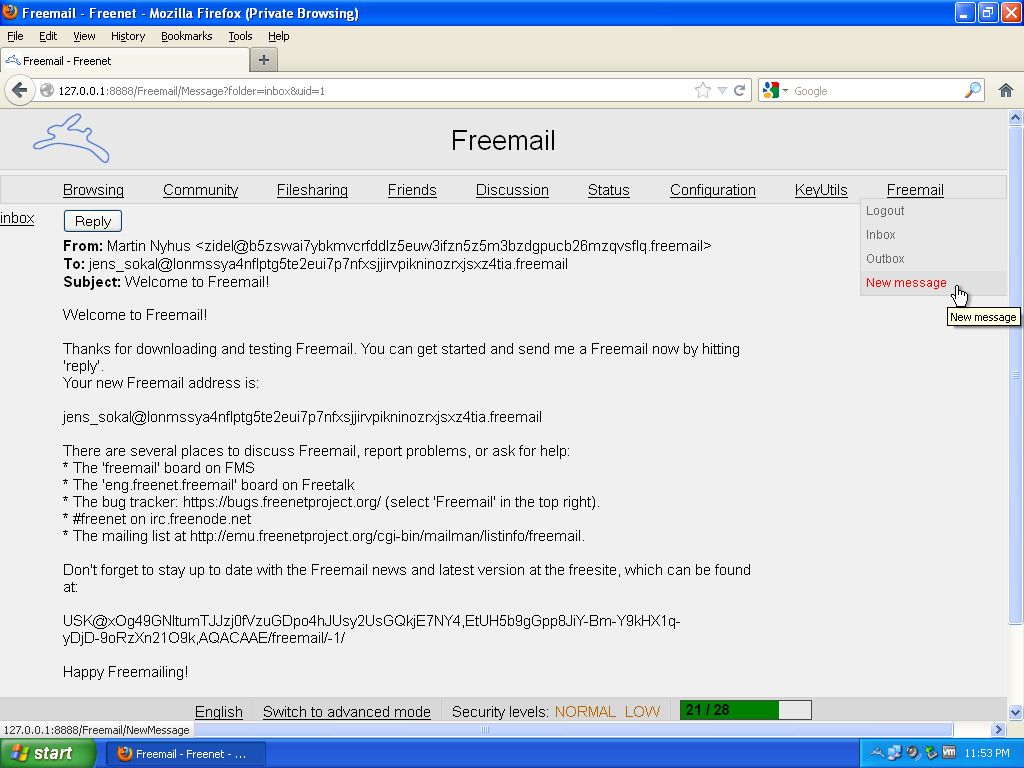
This is your inbox. The first message contains useful information, including you new Freemail address.
The Freemail plugin contains a basic web interface that allows you to send and receive messages. If you want you can use this interface but for full functionality you can set up an external mail client. Continue with this guide for instructions on setting up Thunderbird.
Email client setup
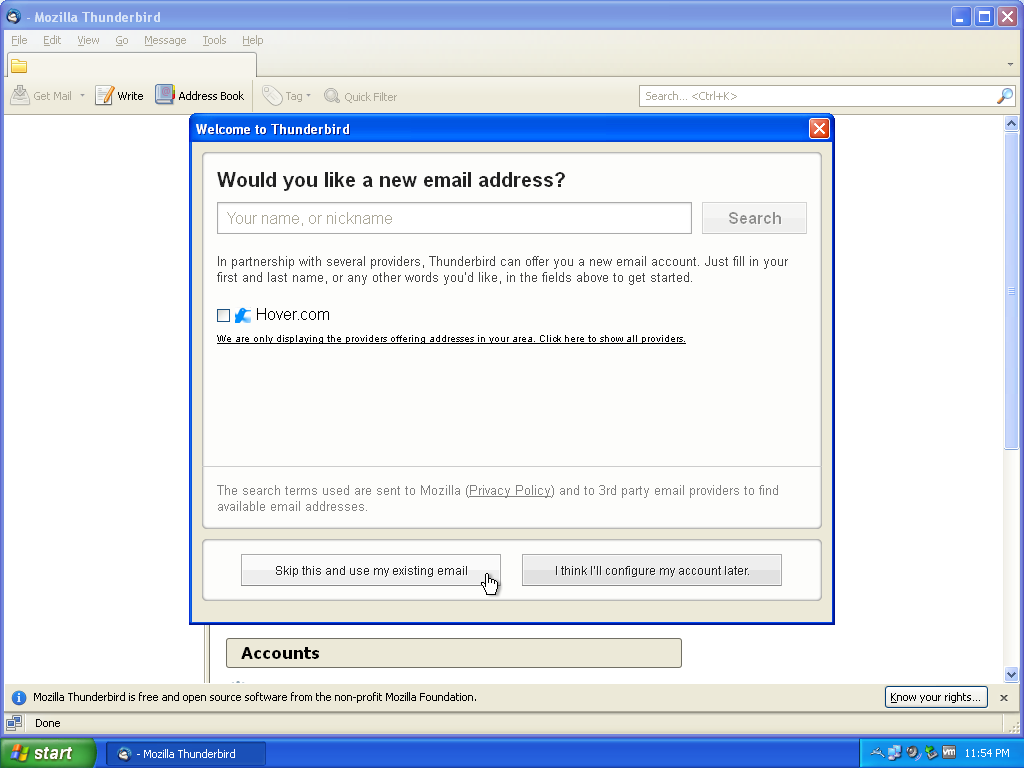
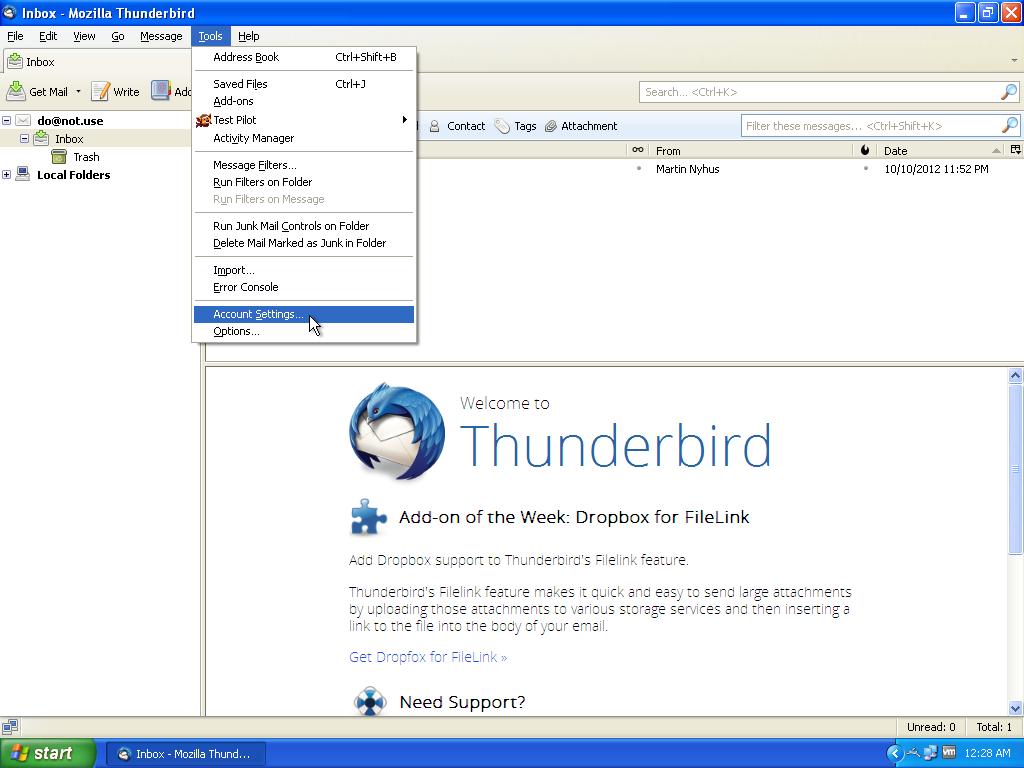
If this is the first time you've used Thunderbird it will immediately prompt you to set up an account. If you already have accounts go to the 'Account Settings' menu. Under the 'Account Actions' menu choose "Add Mail Account...'
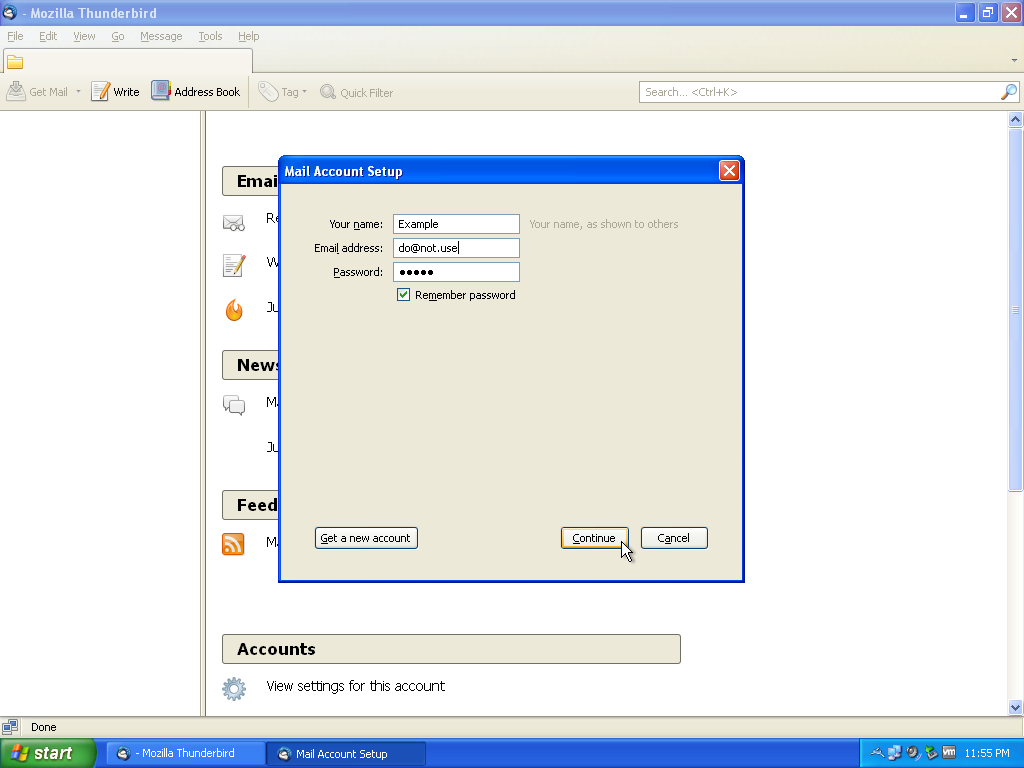
Click past this prompt to configure Thunderbird to access your Freemail account.
At this point we need to be careful to avoid leaking your Freemail address. Thunderbird will attempt to find your email settings by DNS lookup and by sending your email address to their servers. This is desirable behavior when anonymity isn't a priority but in this case we must make sure your freemail address is not associated with your IP address. For more information see this freesite: thunderbird-leak
Enter a fake name, email address and password in this window and click 'Continue'.
If you have it installed you can also configure Thunderbird to use Tor as a SOCKS proxy prior to setting up a mail account to prevent your Freemail address from being associated with your IP address.
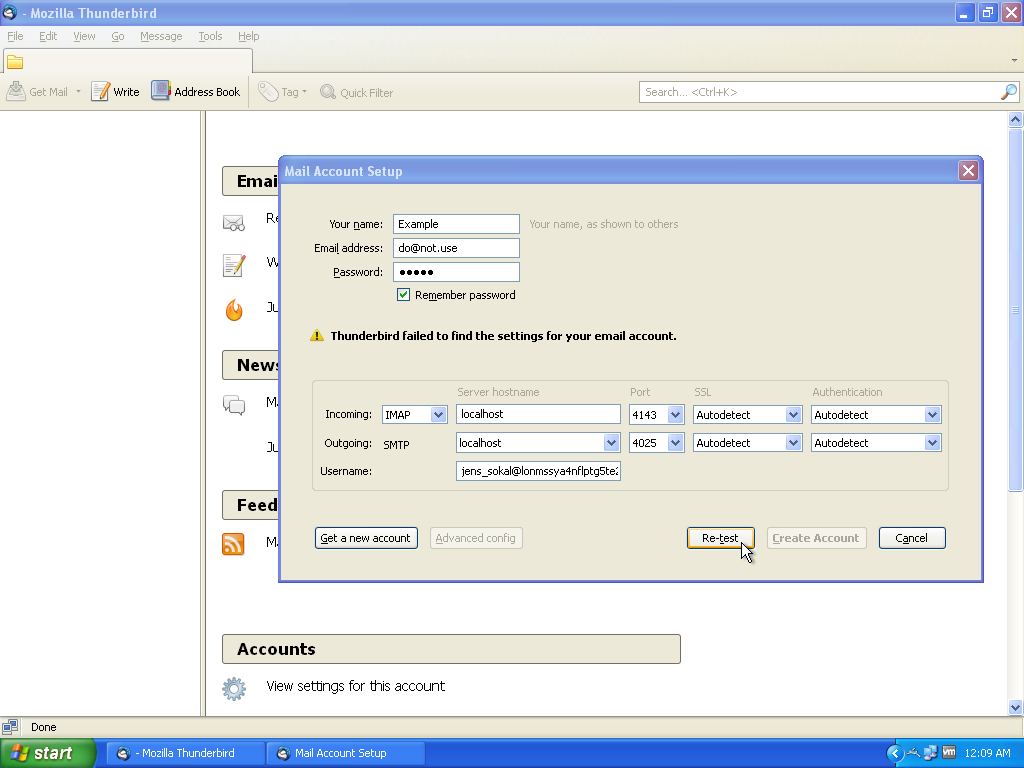
Thunderbird will try to automatically detect your mail server settings but it won't work.
Update the "Your name" and "Password" fields here, but leave the "Email address" field alone for now. Choose a name to display on your outgoing emails and enter the email addressed contained in your "Welcome to Freemail" message. Use the same password here as you choose in step of 5 the previous section.
Change the Server hostname, Port and Username fields as shown below and click 'Re-test'. The Username should be the Freemail address you received in step 7 of the previous section.
-
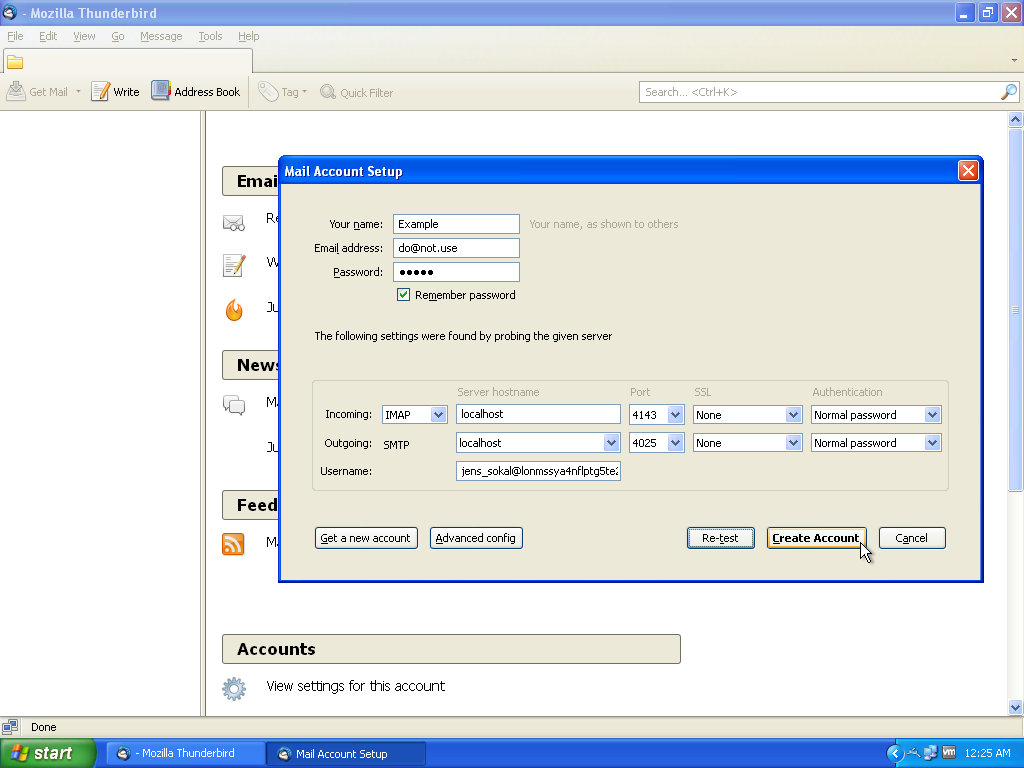
If you entered everything correctly Thunderbird will successfully detect the rest of the parameters. Click on 'Create Account' to continue.
-
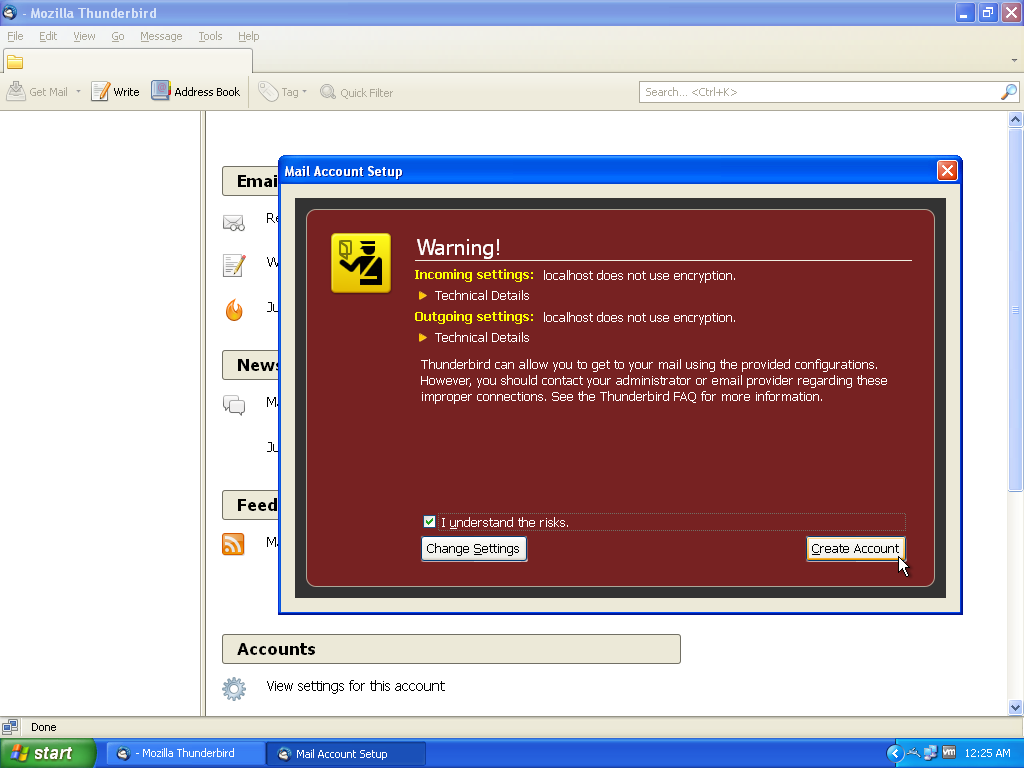
This warning occurs because normally it's a bad idea to connect to a mail server over an insecure connection. Since this connection takes place on the localhost interface TLS is not necessary. Click on the checkbox and click 'Create Account' again.
-
At this point you should see the Welcome email from your inbox. From now on you can do everything relating to your mail from Thunderbird just like any other email service. Just remember that your node must be running to use your Freemail account.
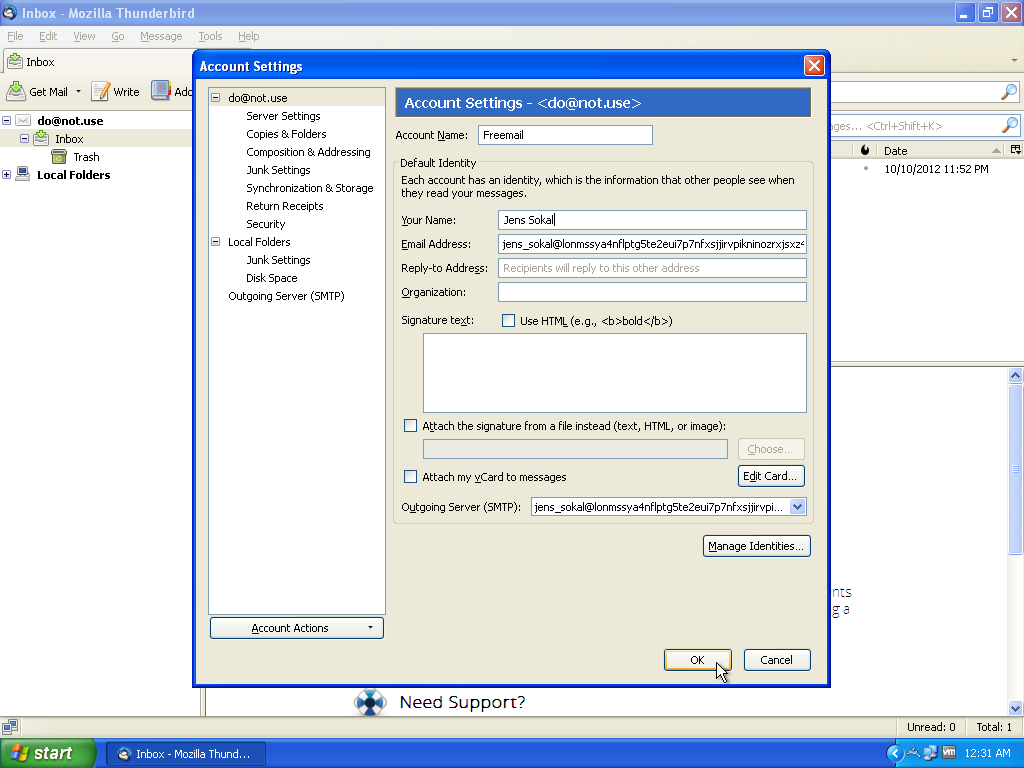
Before you start sending messages, however, access the Account Settings to correct your name and email address.
-
Update the "Account Name", "Your Name" and "Email Address fields" to include the correct information for your account as shown:
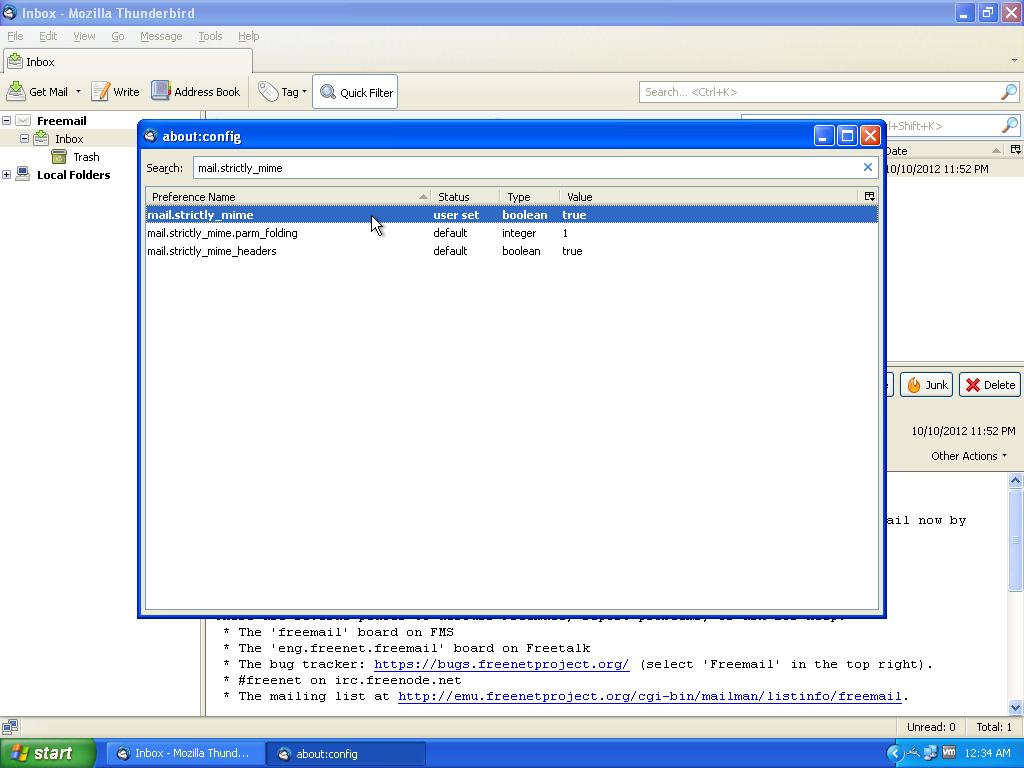
If you ever plan to send messages with non-English characters there is a setting you should change to make sure that your messages display properly.
Go to the Thunderbird configuration menu.

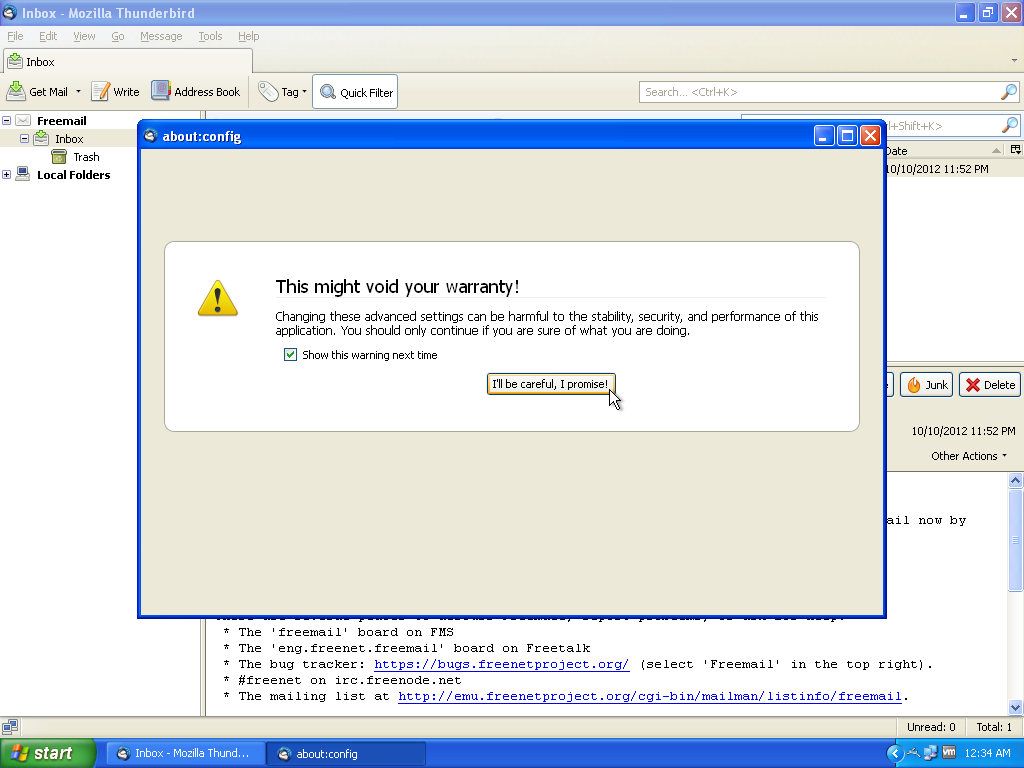
Under the Advanced tab choose 'Config Editor'.

Acknowledge the warning. If you wish, you can uncheck 'Show this warning next time'.
Search for "mail.strictly_mime" and double click to change the value to 'true'.
The next thing to configure is Sone.