
Step 4: Creating a microblogging account with Sone
You must have already created a Web of Trust (WoT) identity in step 2 of this guide before proceeding.
Go to the Plugin configuration page.
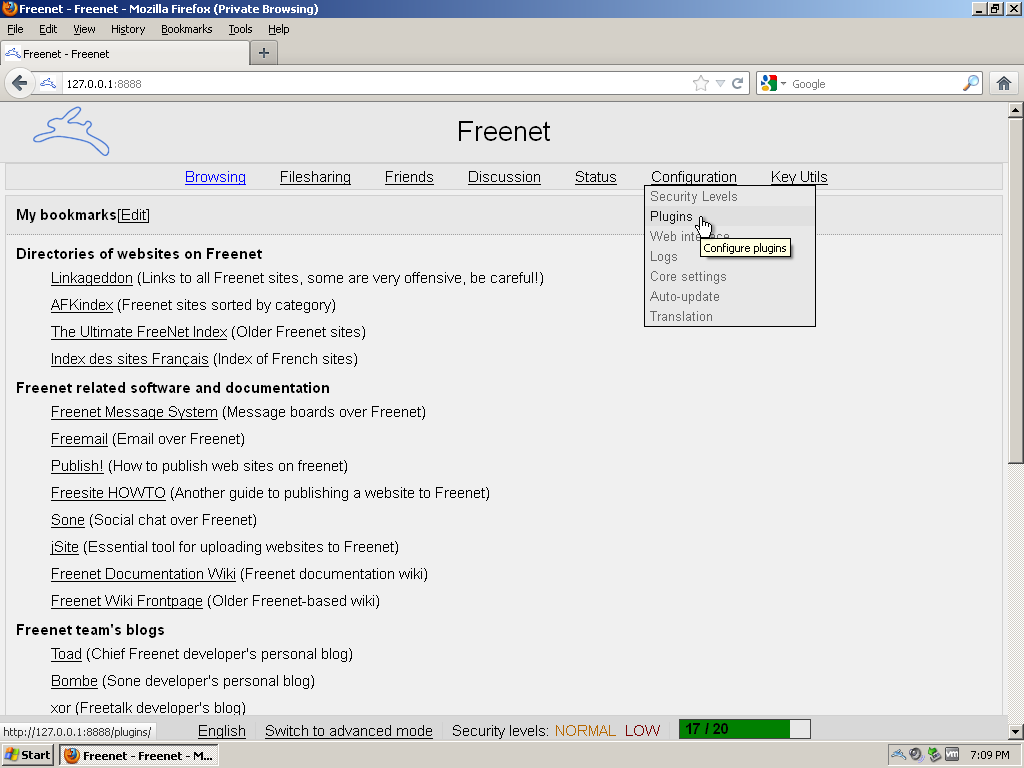
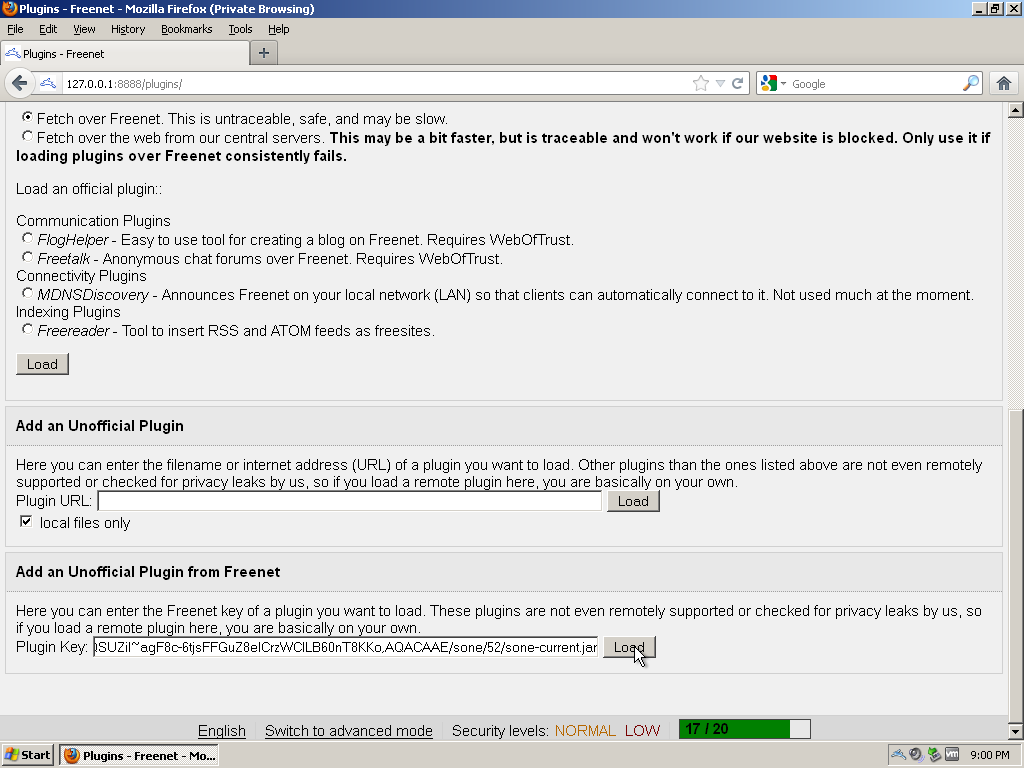
As of the time of this writing Sone an unofficial plugin. Load the following Plugin Key:
USK@nwa8lHa271k2QvJ8aa0Ov7IHAV-DFOCFgmDt3X6BpCI,DuQSUZiI~agF8c-6tjsFFGuZ8eICrzWCILB60nT8KKo,AQACAAE/sone/-60/sone-current.jar
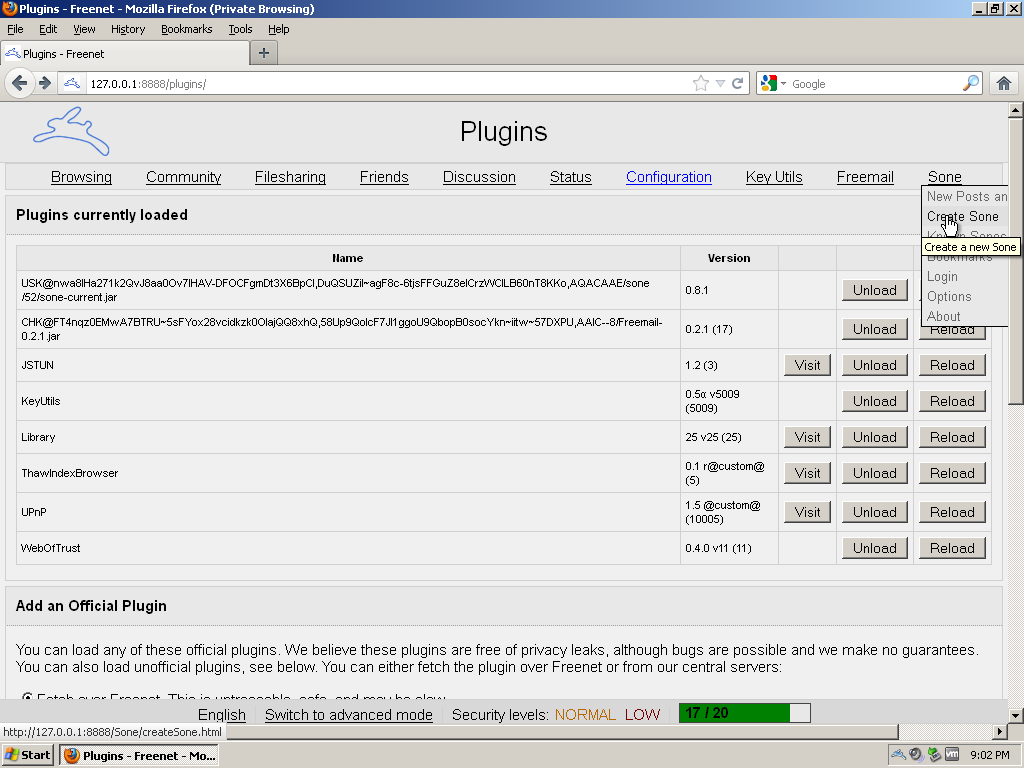
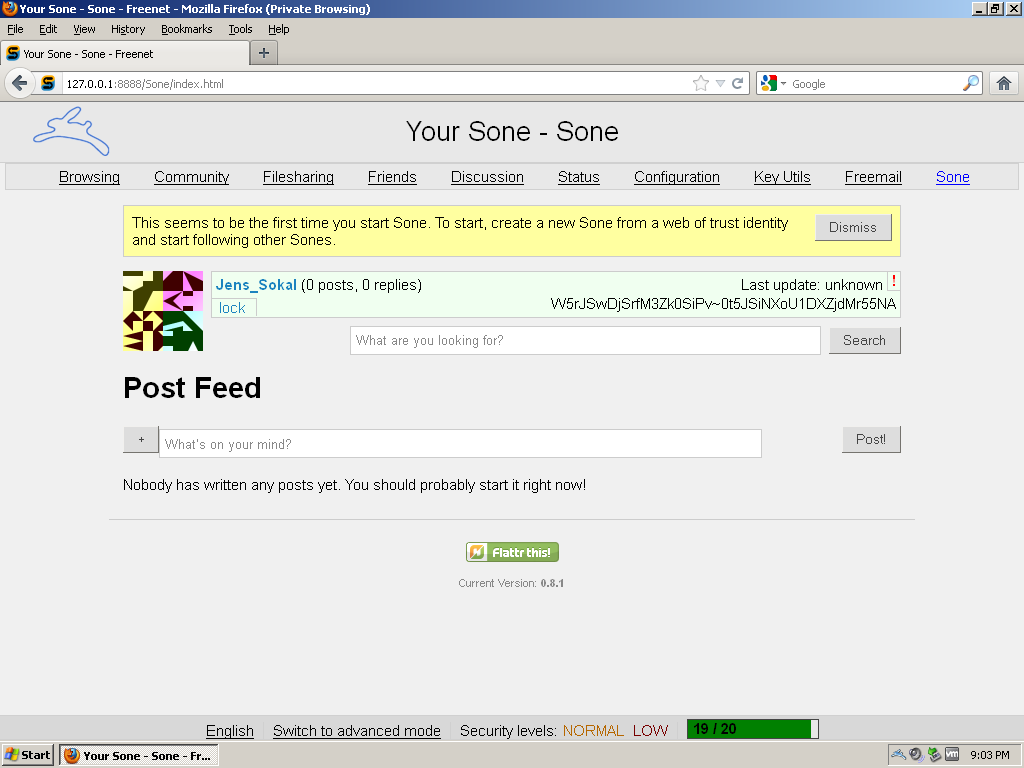
Since you don't have a Sone yet the first thing you need to do is create one.
Choose the identity you want to create a for, in case you have more than one.
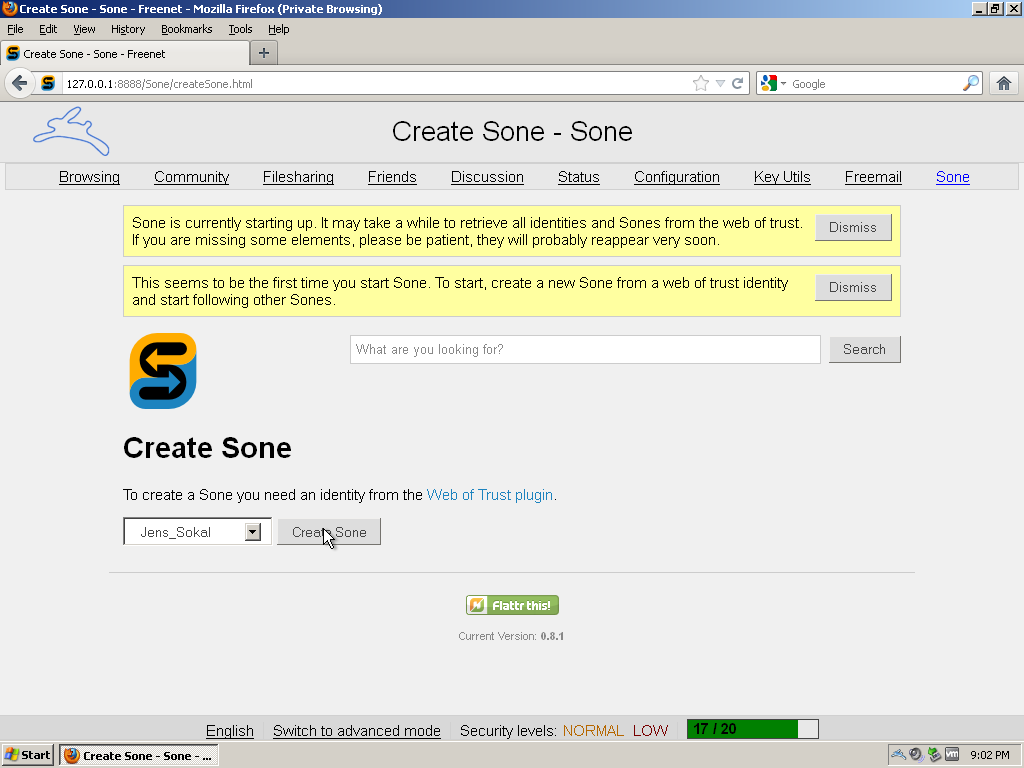
After a short wait your Sone will be created. Unfortunately there's not much to see yet. Let's fix that.
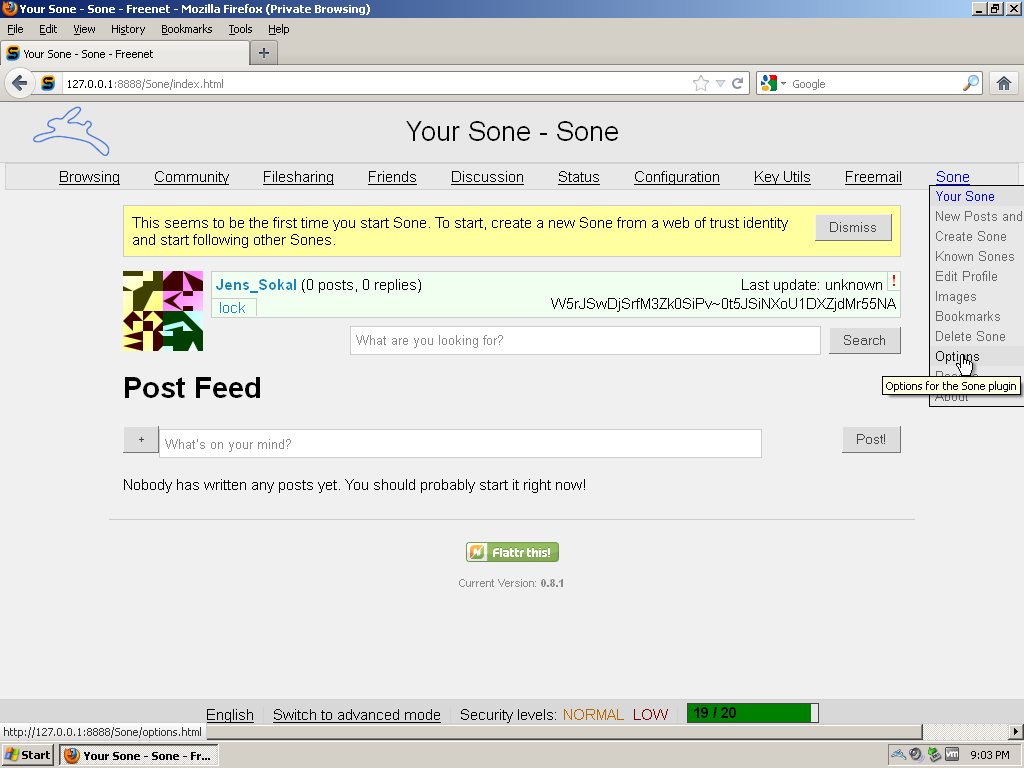
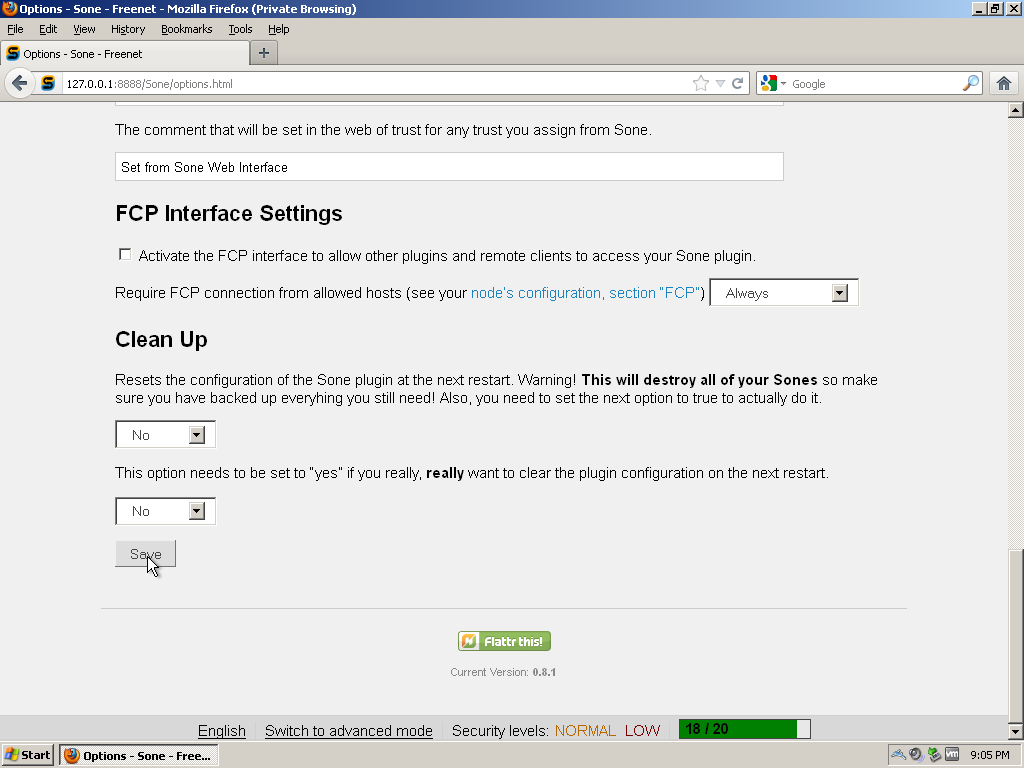
Open up the Sone options.
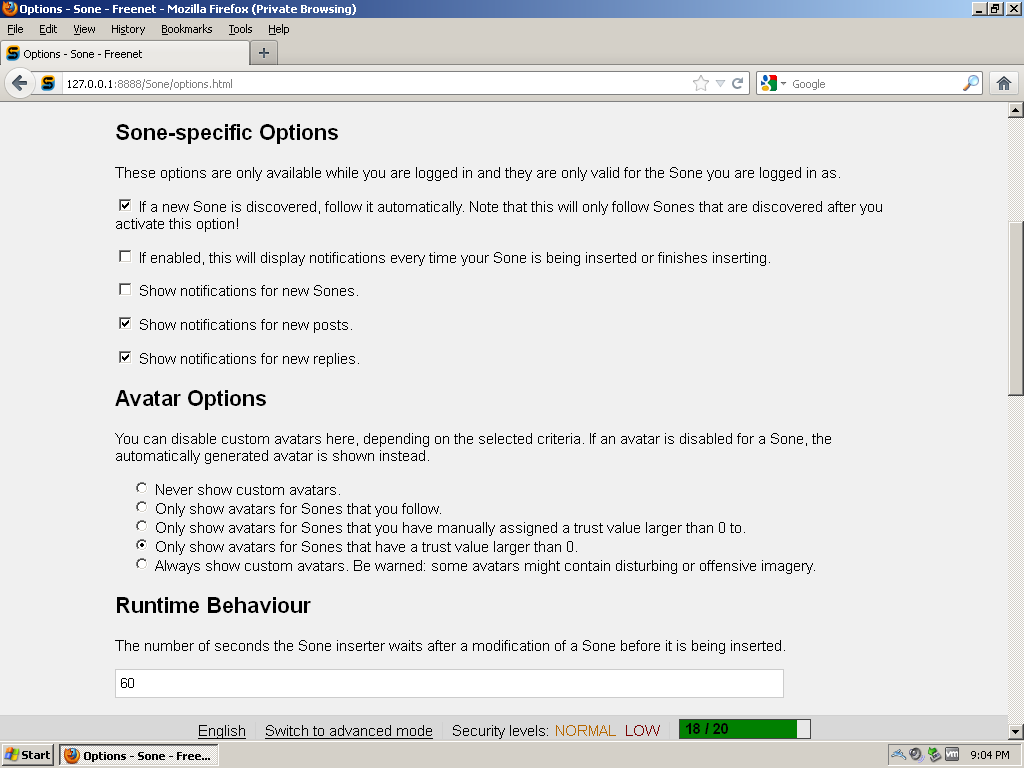
Make your Sone-specific options look like this. If you'd like to see Avatars the following setting should be safe.
Until you have a deep understand of Web of Trust weightings the best setting for "The amount of trust you want to assign to other Sones by clicking the red X below a post or reply." is -1.
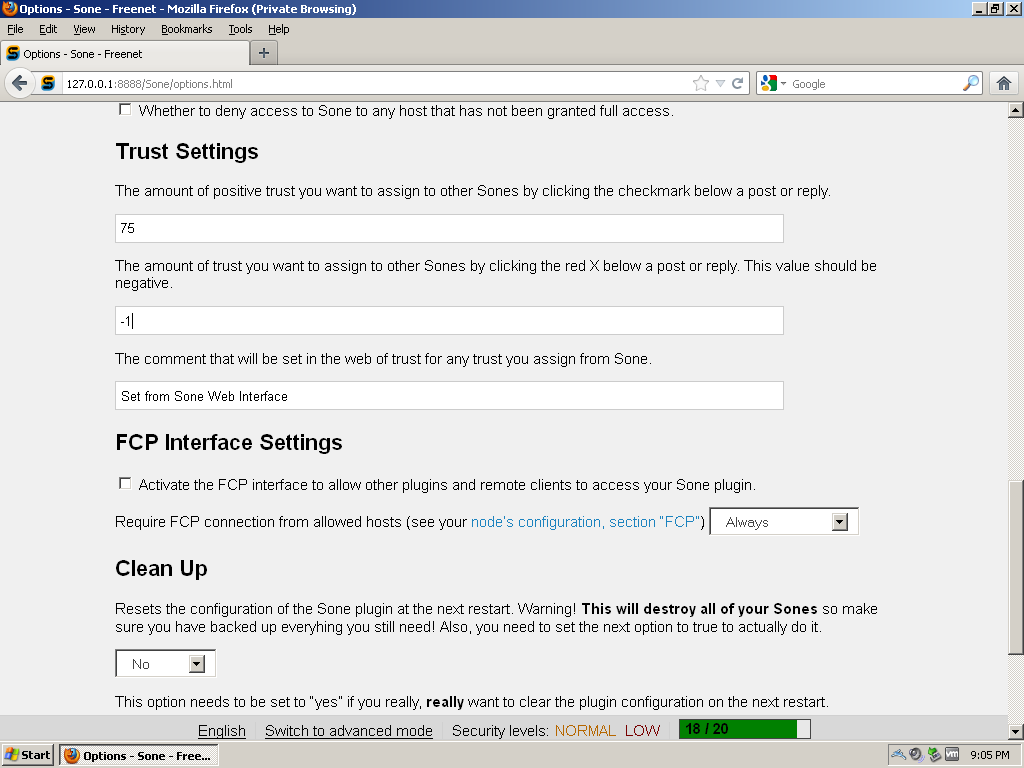
Save these settings when you're done.
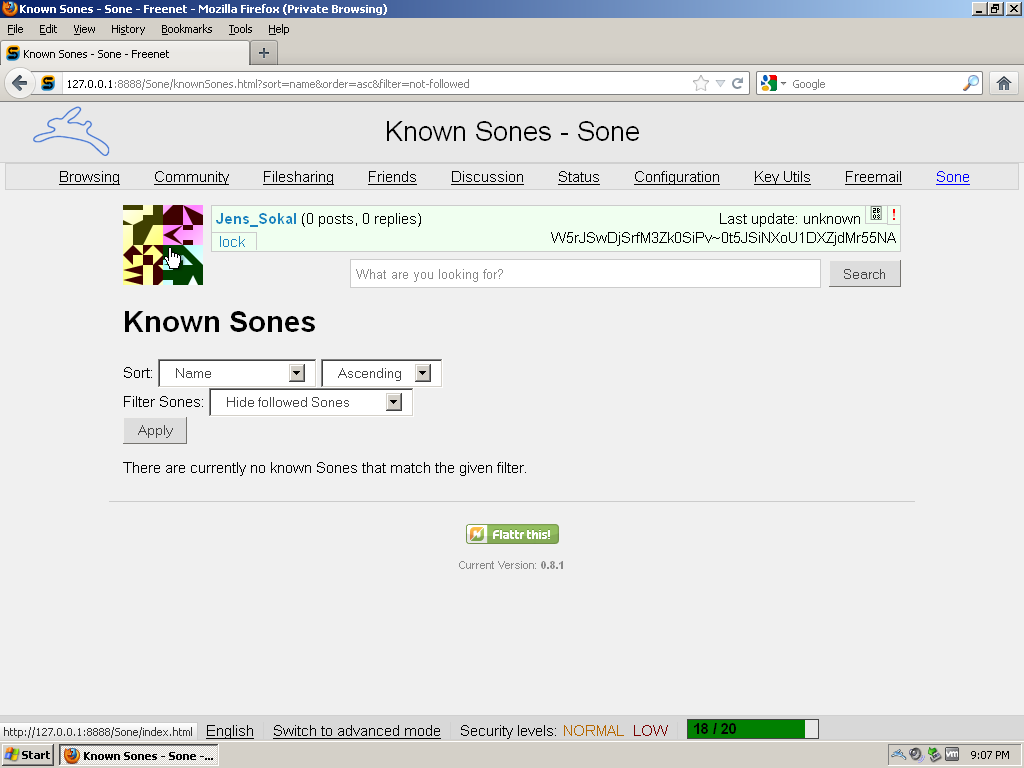
We just told Sone to follow all new Sones it discovers but some of them might have slipped through the cracks while we were setting things up. Go to the Known Sones menu.

Change the filter to "Hide followed Sones" and if there's anything listed click 'Follow all Sones on this page'. Continue doing this until your screen looks like the next picture.

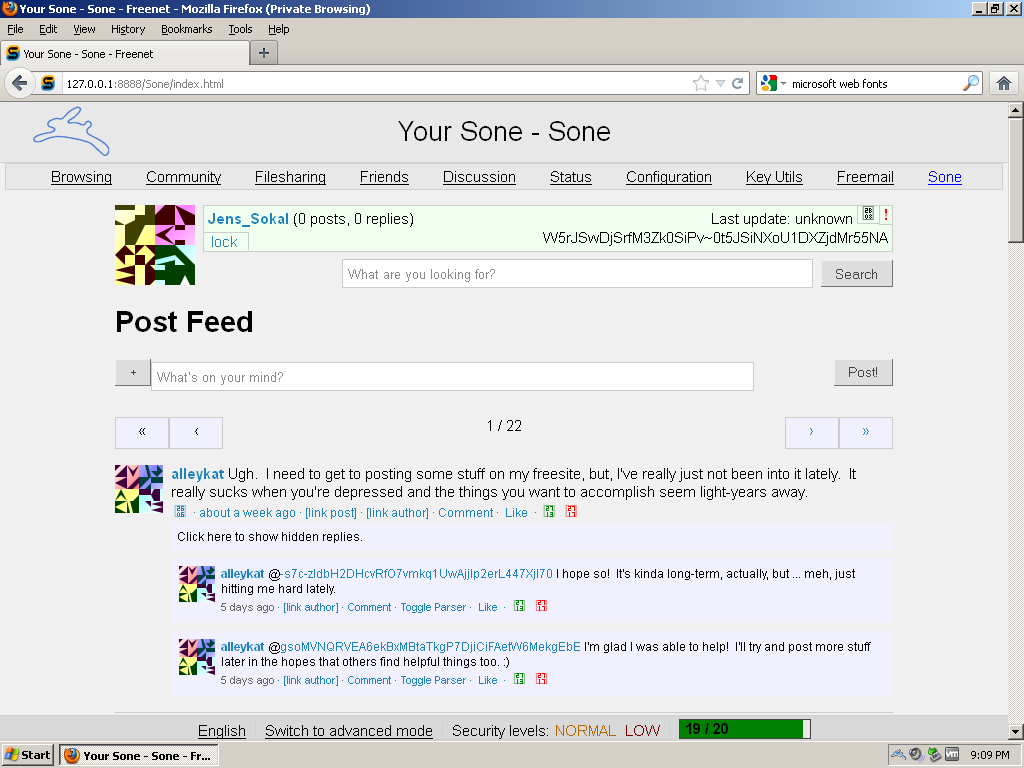
Go to your wall page by clicking on your avatar picture.
Success! You will now start to see your feel begin to fill up as Sone discovers more identities.
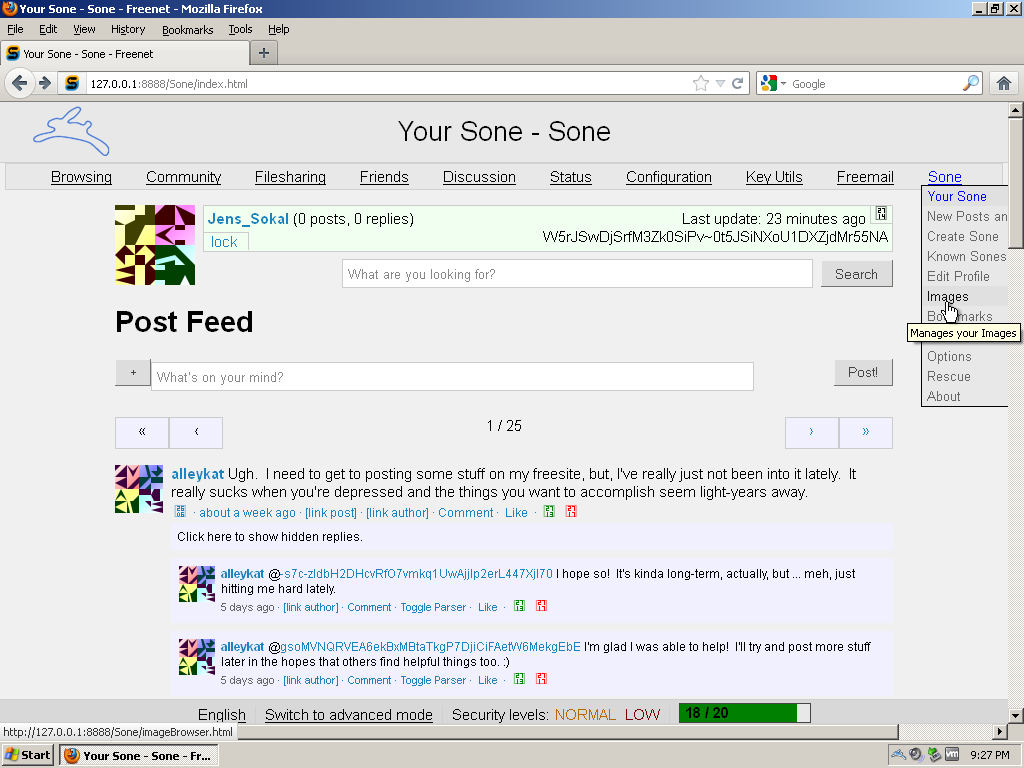
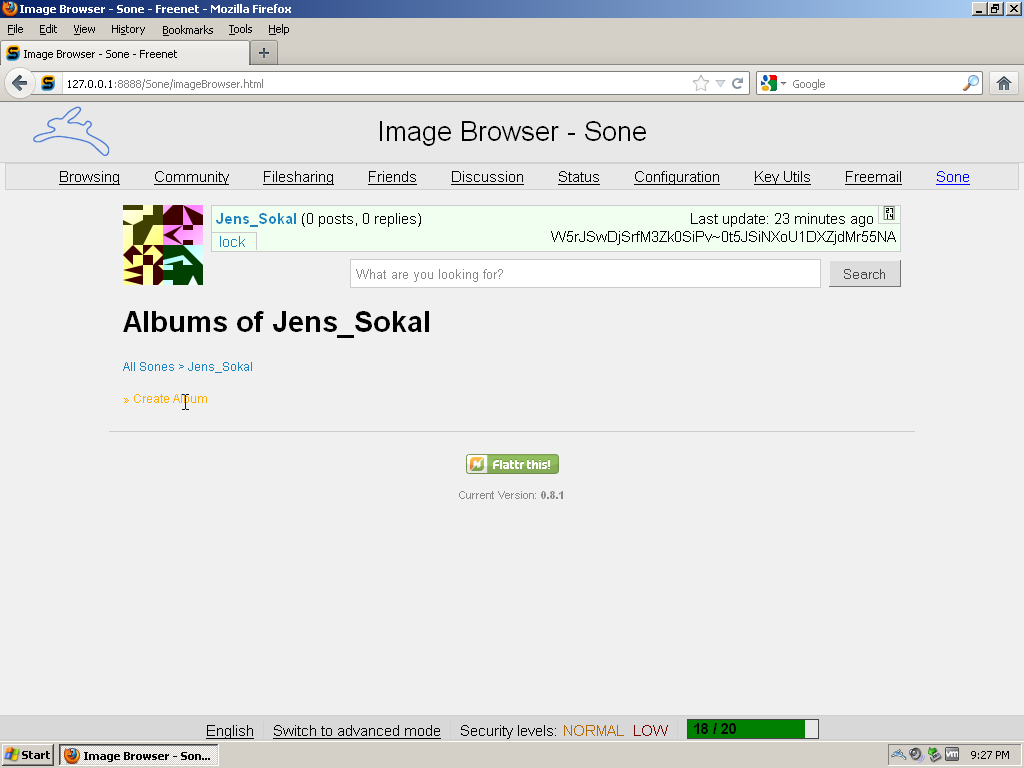
Now you should finish up by adding some details to your profile. If you'd like to add a custom avatar picture click on the Images submenu, otherwise skip to step 18.
Before you can upload a picture you need to create an album.
Give your album a name and optionally a description.

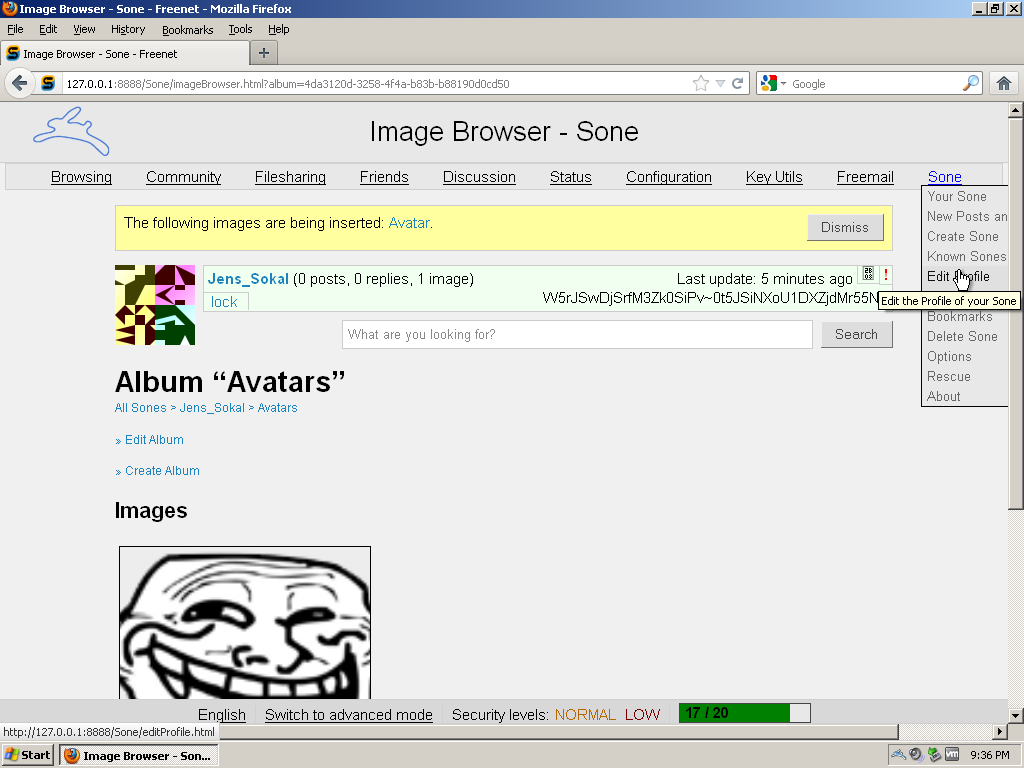
Now you can upload an image.

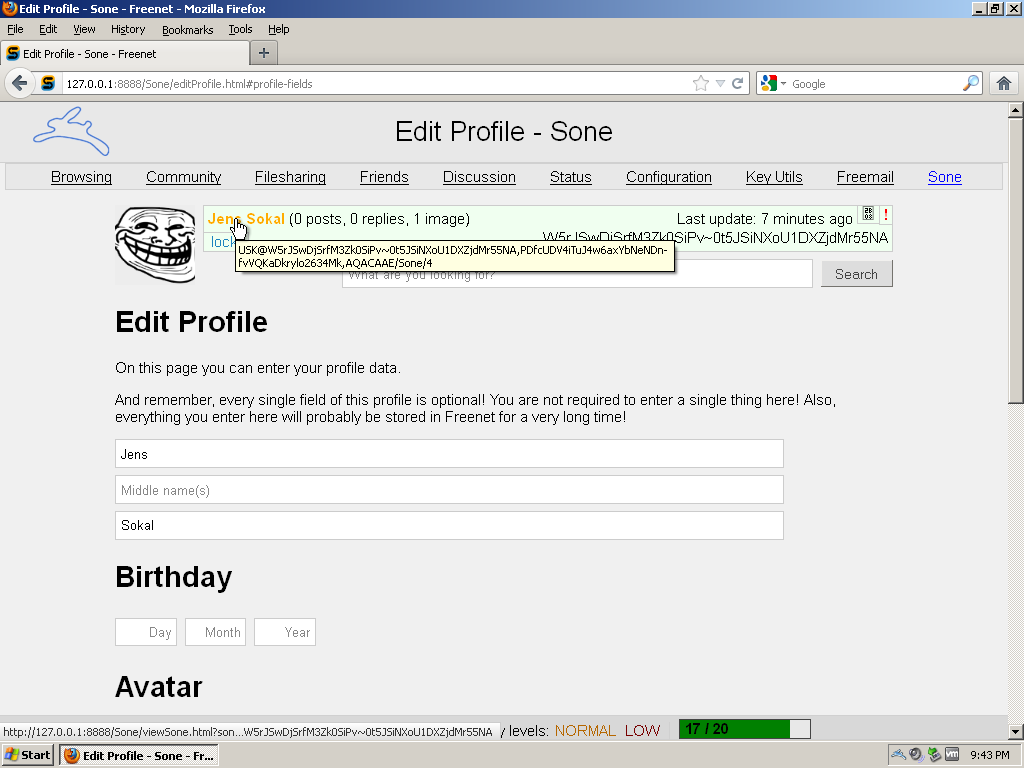
To modify your profile click on the Edit Profile link in the Sone menu.
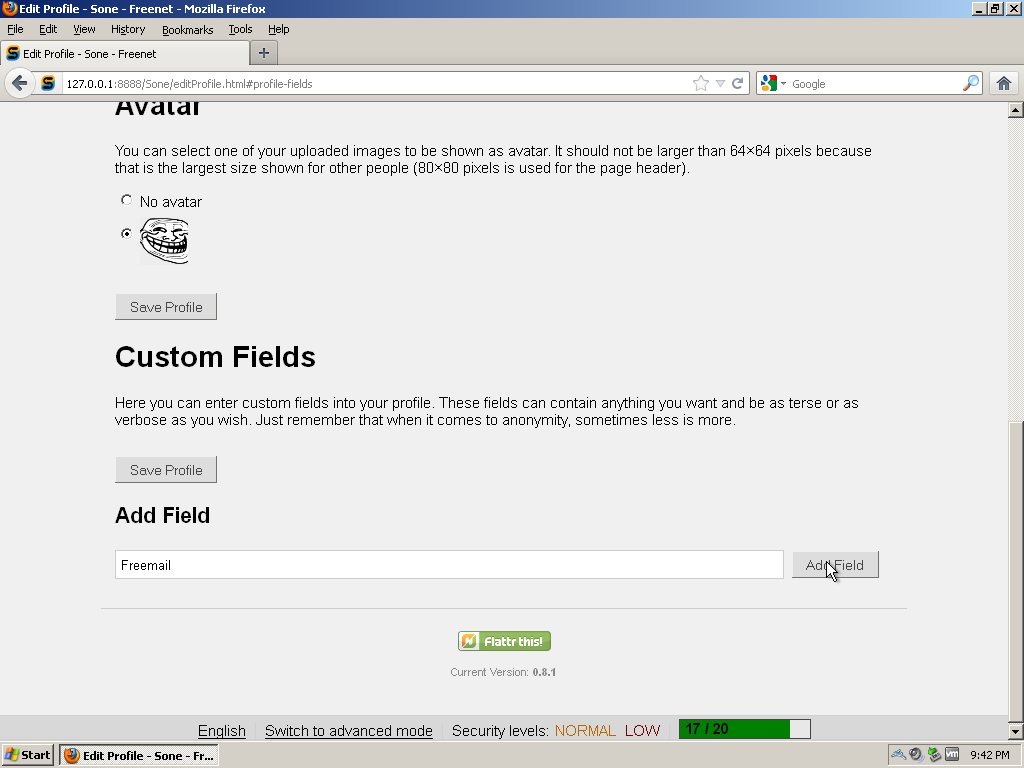
Fill out as much or as little information here as you want.

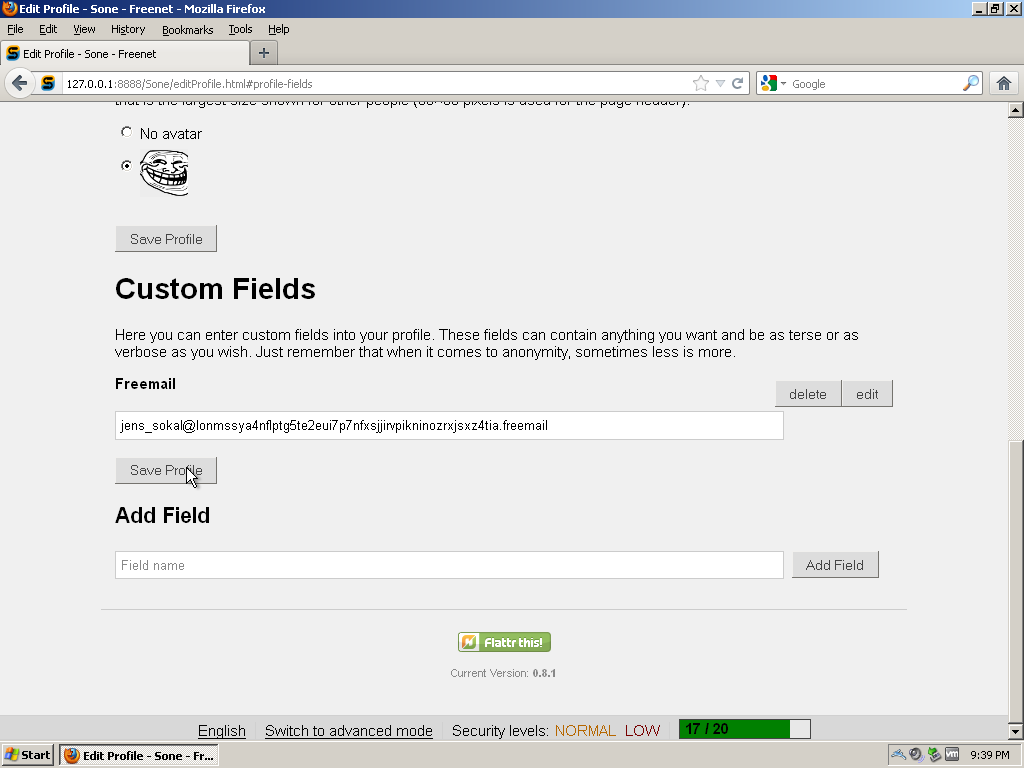
If you uploaded an avatar select it here. Save your progress so far and return to this part of the page. Add a Freemail field so that other people can know where to send you private messages.
Fill your Freemail address and save your profile again.
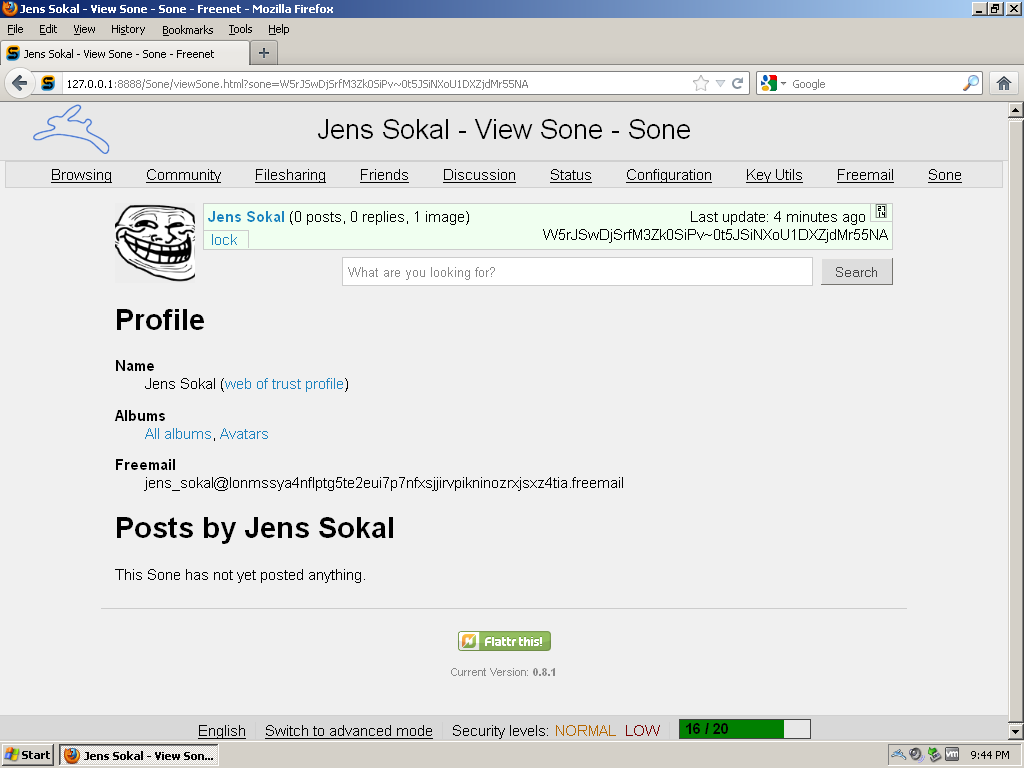
To see what your profile looks like click on the link to the right of your avatar.
There you have it. You're now officially a part of the Freenet social networking community.
The only thing left to do now is to create your first Sone post introducing yourself.

Next up is discussion forums.