
Step 1: Installing and configuring your Freenet node
Before you get started make sure you have a reliable browser and mail client installed. This guide will use Firefox and Thunderbird.
 To view instructions for installing Freenet on Windows click here.
 To view instructions for installing Freenet on Mac OS X click here.
 To view instructions for installing Freenet on Ubuntu Linux click here.
Freenet Installation for Microsoft Windows
Download and run the Freenet Installer.
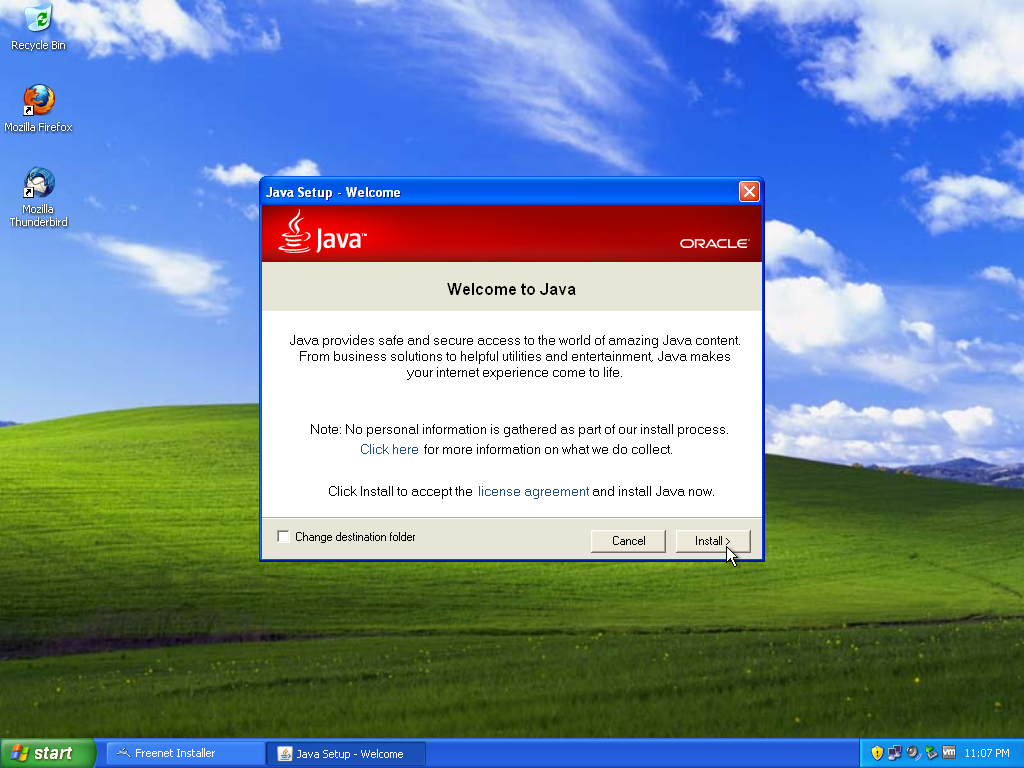
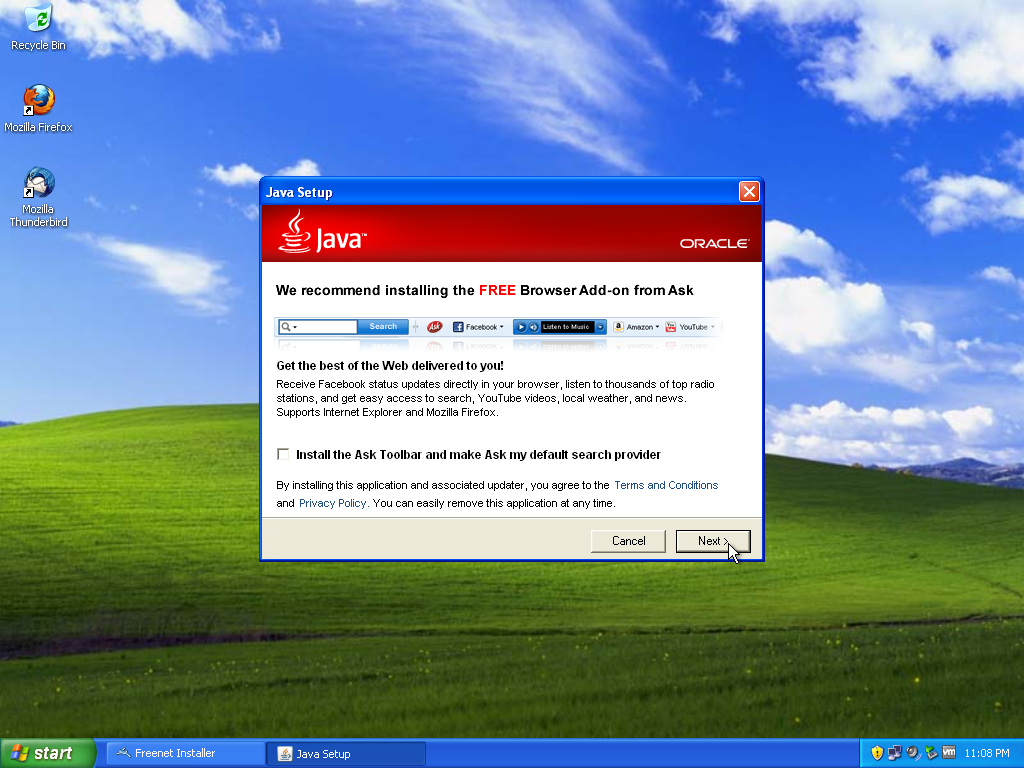
The first thing the installer will do is check for an updated version of Java. If necessary, update Java now or if you already have a new enough version you can skip to step 4.

The default directory is fine.
Just Say No to adware.
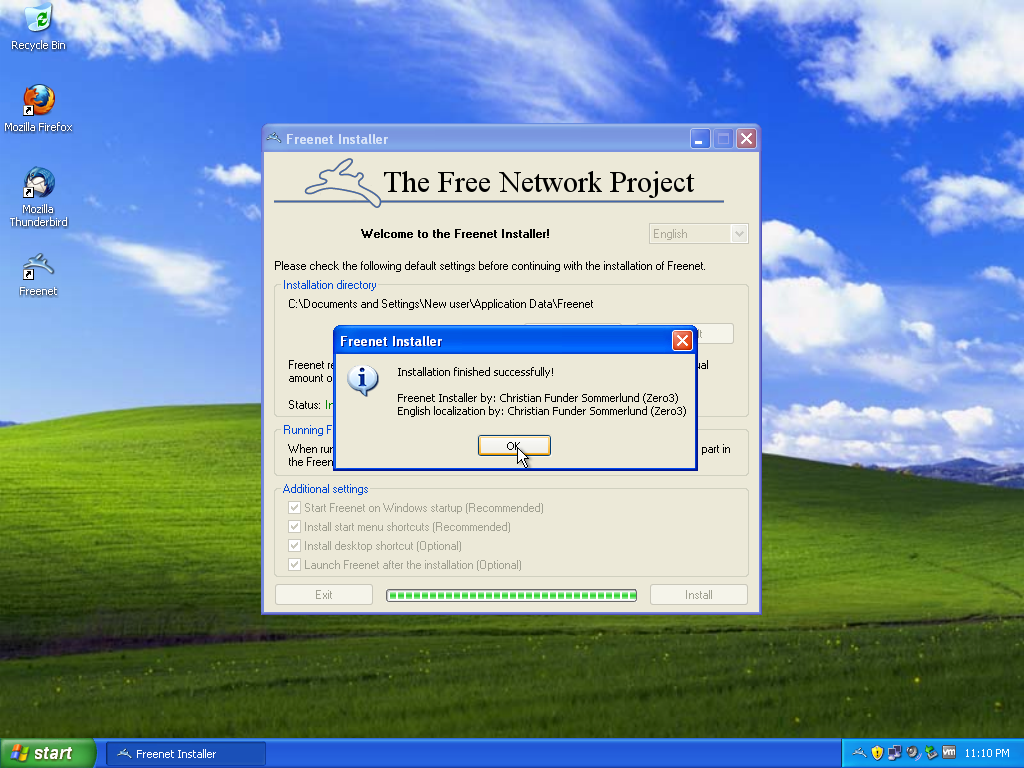
Select all of the options under Additional settings and click 'Install'.

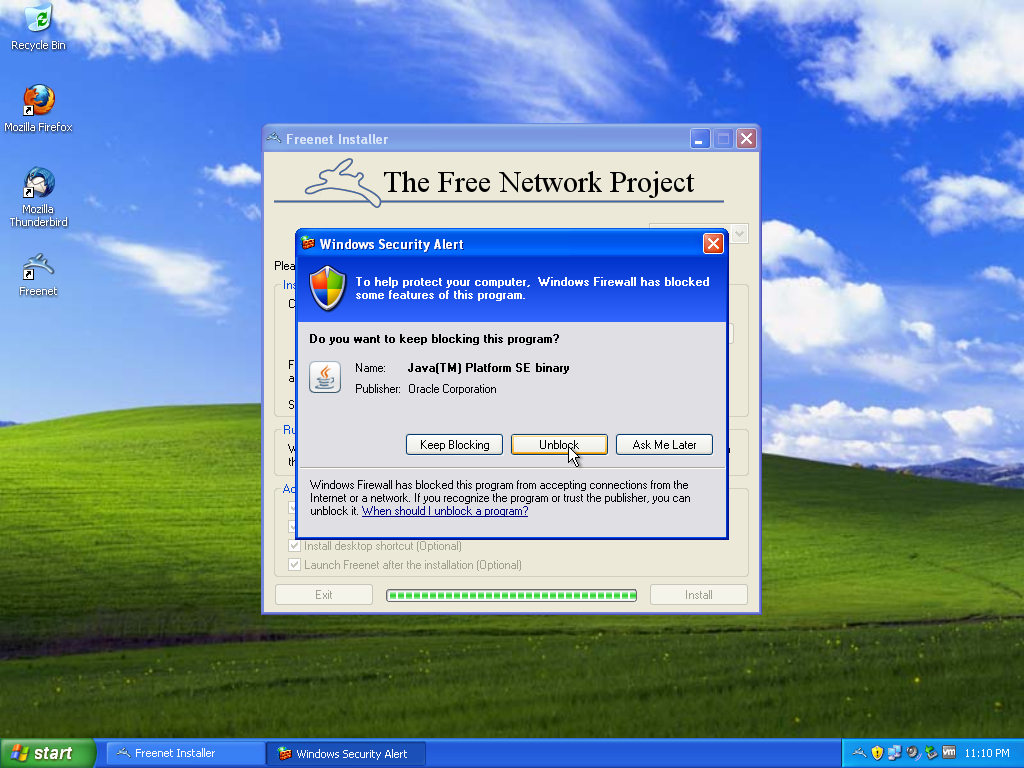
Of you get a Windows Firewall message click 'Unblock'.
Click 'OK' to exit the installer and begin configuration.
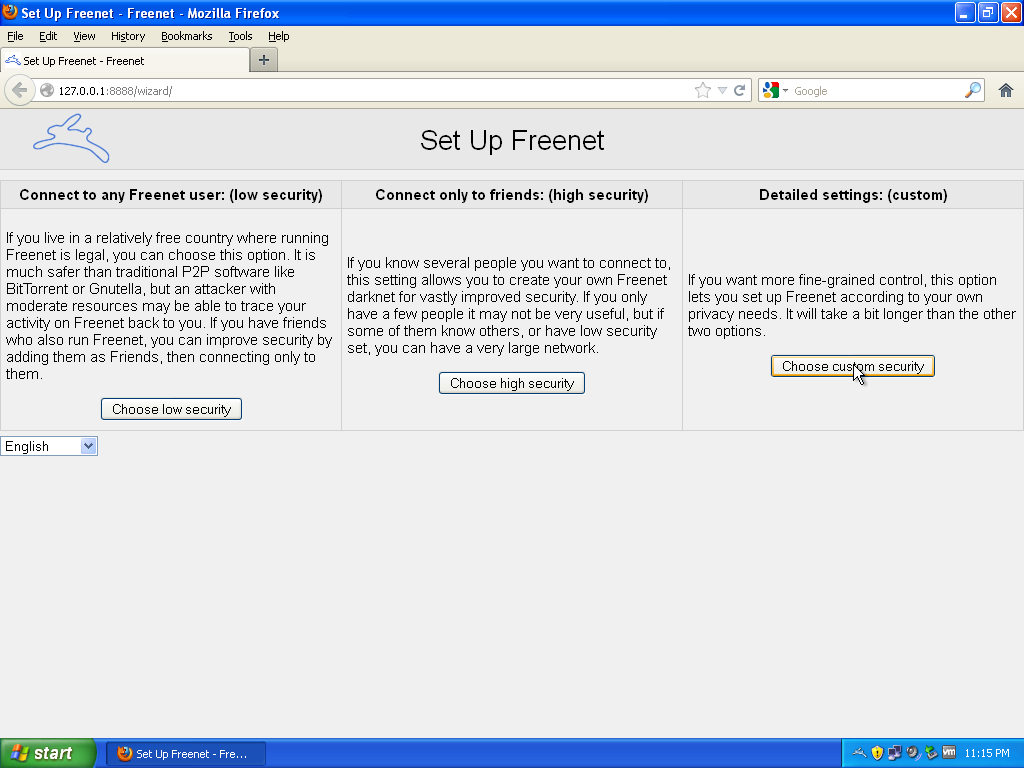
Freenet Configuration
You should now see the setup wizard. Click 'Choose custom security'.
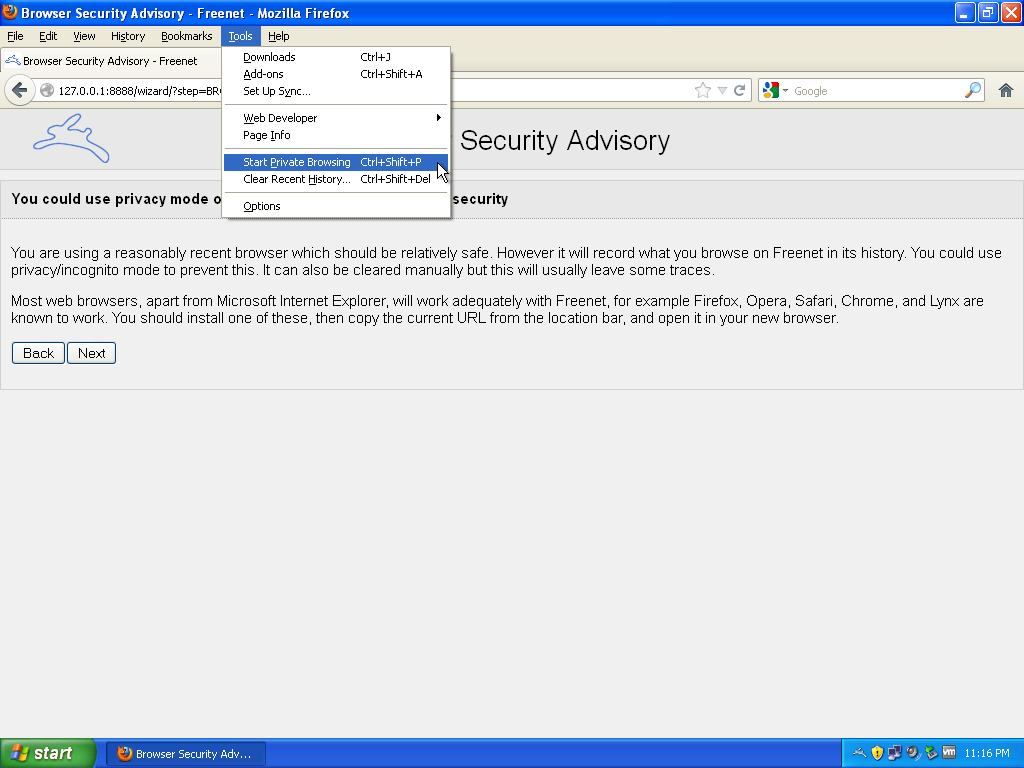
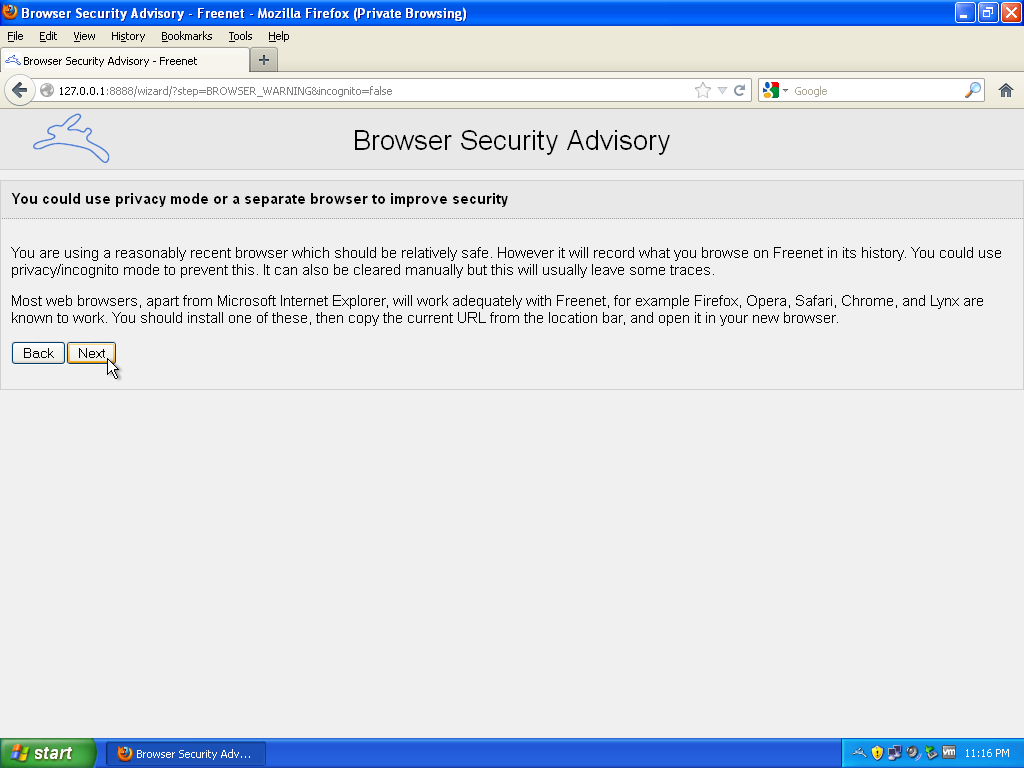
You should always browse Freenet in Private Browsing or Incognito modes. If you aren't already do so now. Remember to copy the URL and paste it back into the address bar.
Click 'Next'.
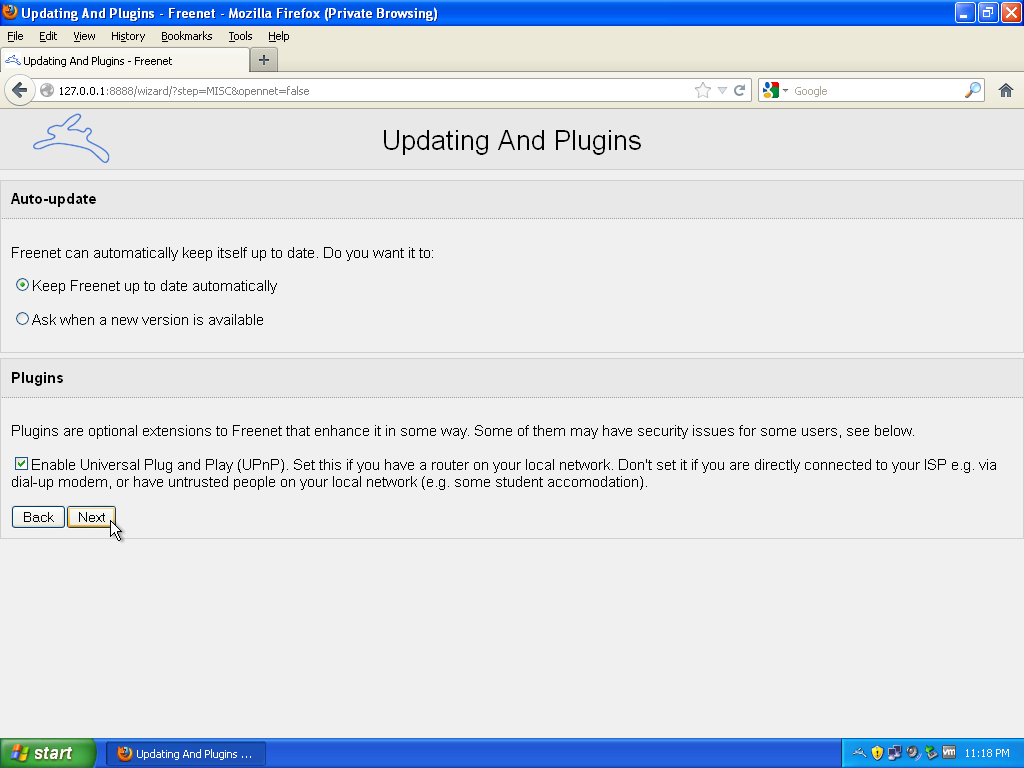
Click 'Next' unless you have a reason to disable UPnP.
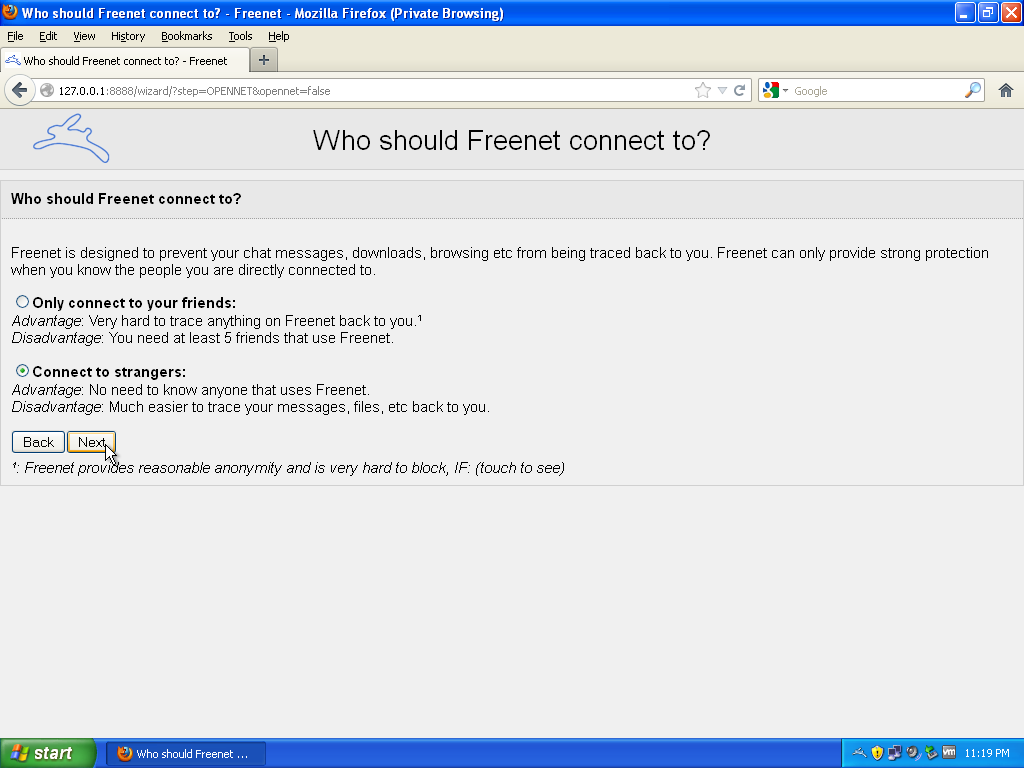
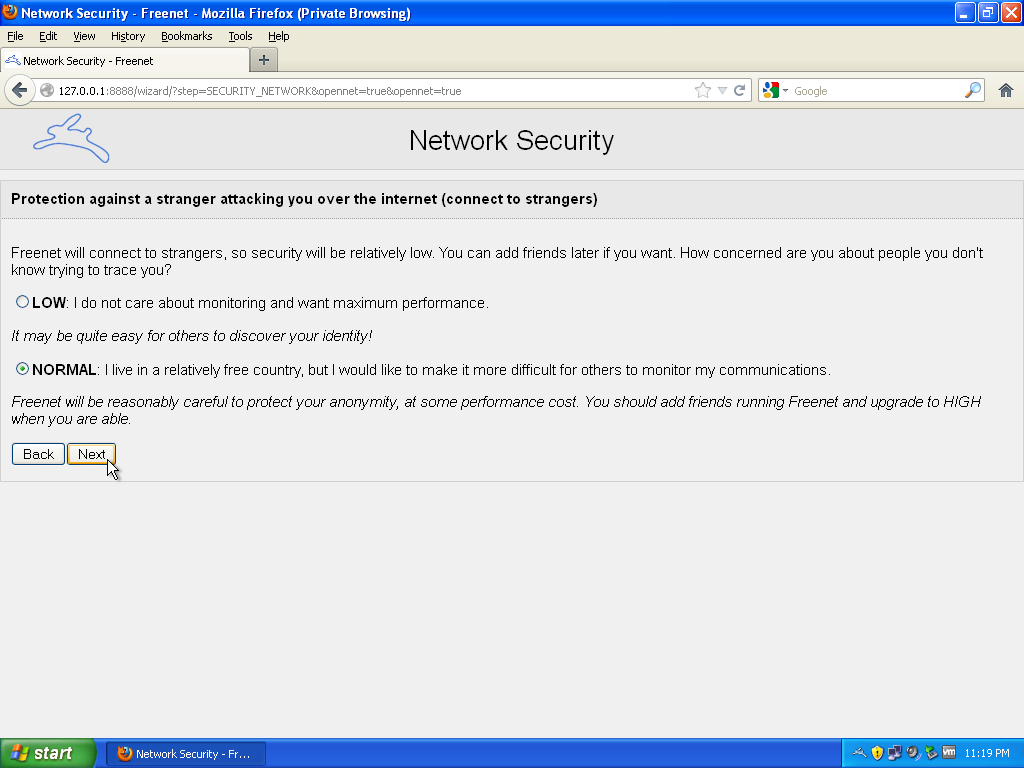
Choose the second option here. If you know other people who use Freenet you can upgrade to darknet mode in the future but for now you need to connect to strangers in order to access the network.
Choose "NORMAL" here.
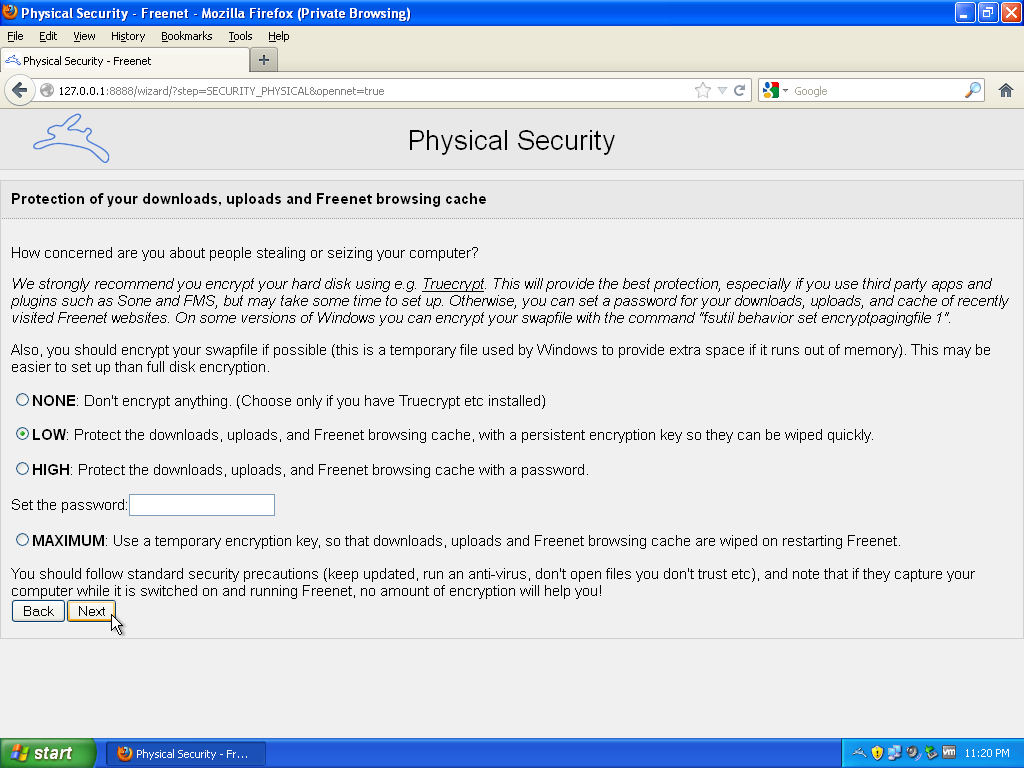
Choose "LOW" here unless you are already using whole disk encryption, in which case you can choose "NONE". The higher levels of security unfortunately do not fully protect your identity if you use the kinds of social networking plugins we will be installing. You should use a whole disk encryption product like Truecrypt, but setting that up is outside the scope of this guide.
The installer will recommend a default value based on the size of your hard drive. You can use the value it suggests or select something different.

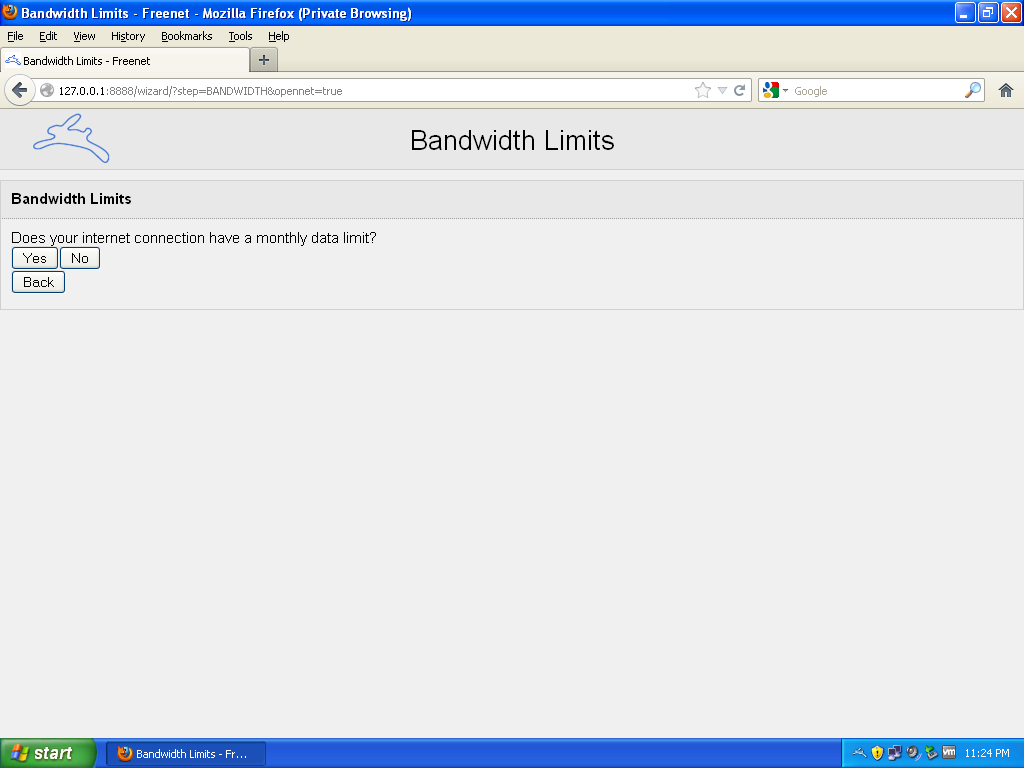
You have two options to choose from here. If you want to limit bandwidth based on a monthly cap click 'Yes'. Otherwise click 'No' and skip to step 11.
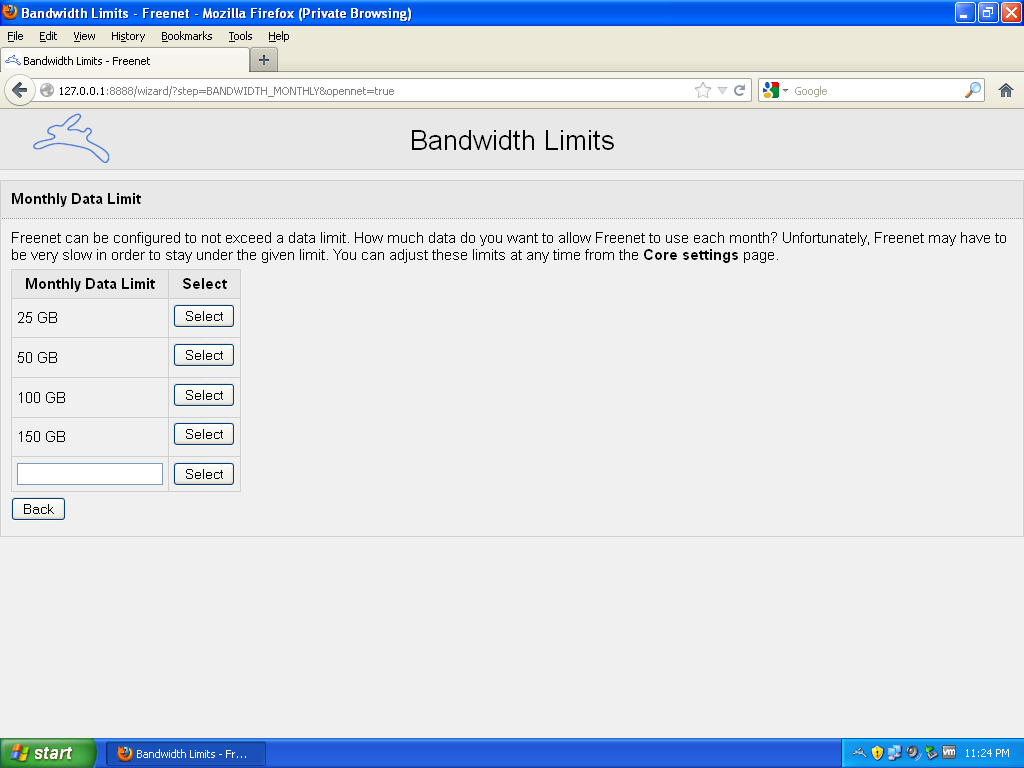
'Select' your monthly data cap from the options provided or type a value into the last box. Skip to step 12.
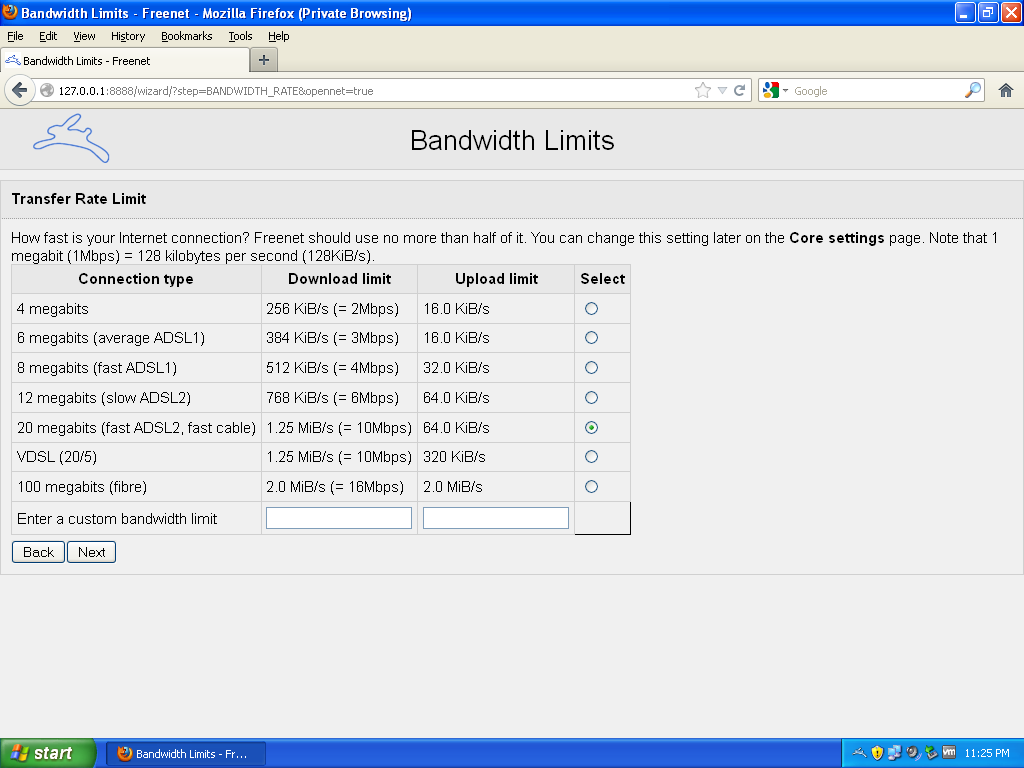
Select the right bandwidth limit based on your connection type in your own values.
Your node is now running. Before installing any of the social networking plugins in future steps you should check the maximum amount of memory your node is allowed to use.

Go to the "Core settings" page of the Configuration menu.
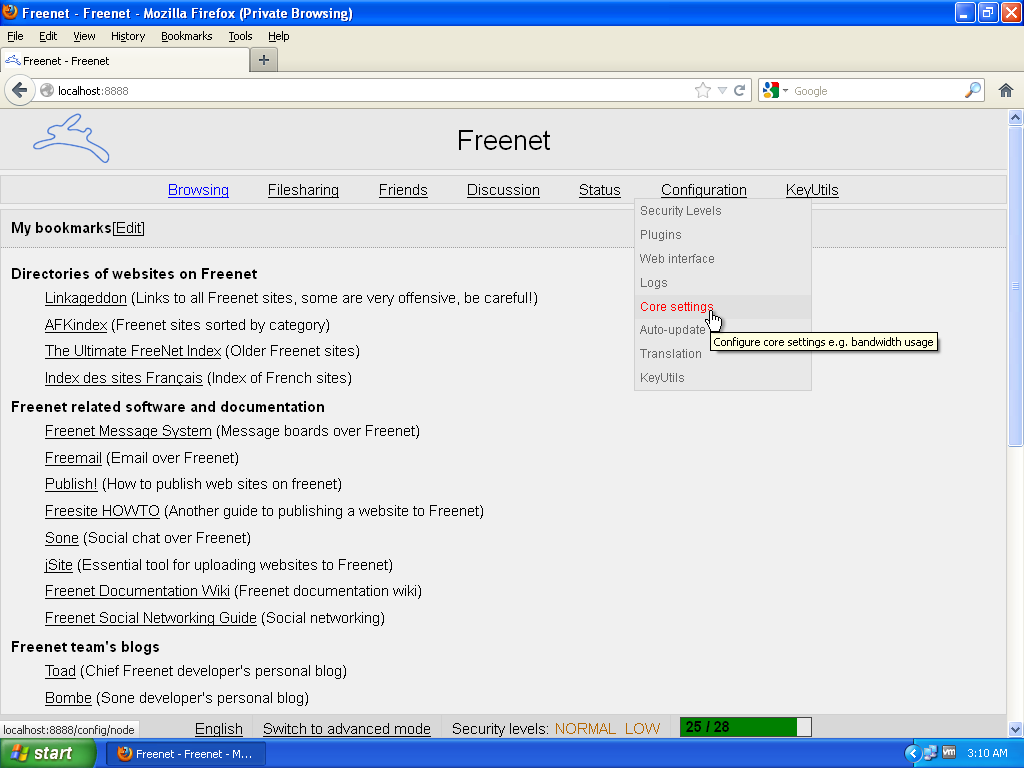
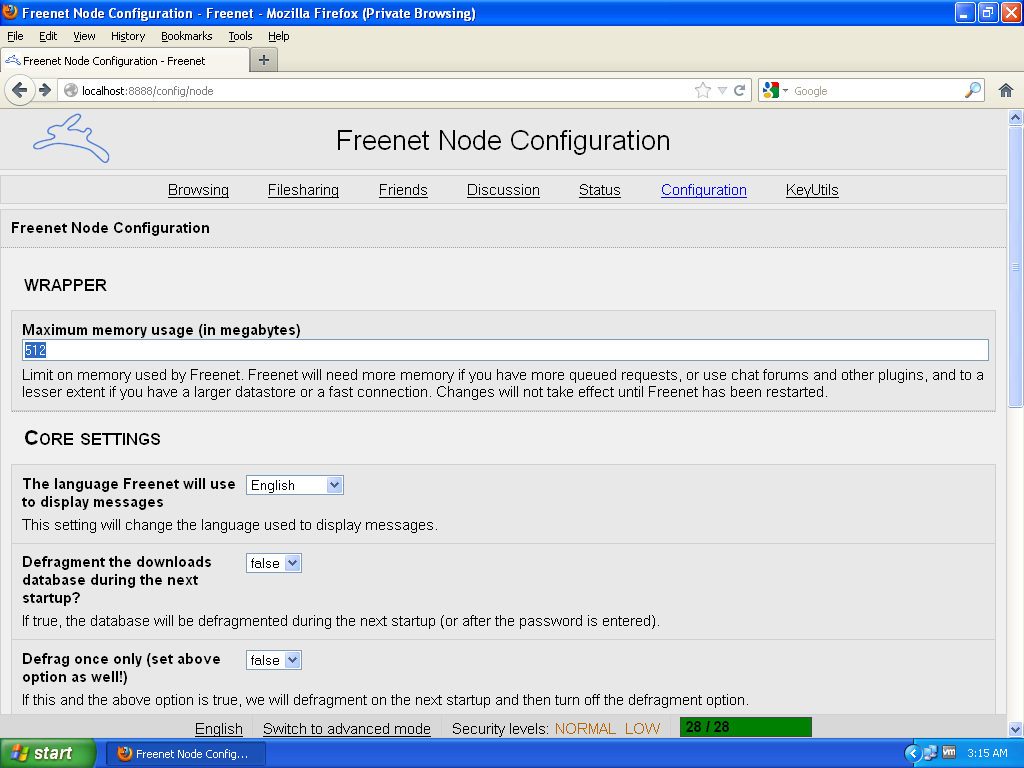
The Freenet installer picked a value of "Maximum memory usage" based on the amount of RAM on your computer. Frequently this value is too small to run the plugins that we will be installing in later steps. Make sure this value is at least 512 MB to make sure your node doesn't run out of memory. Symptoms that this value is too small include frequent node crashes and restarts.
If you don't see the WRAPPER section here and you've followed the instructions in this guide this is a bug that should be reported. As a workaround, search your computer for the file "wrapper.conf" and open it in a text editor. (you may need to expand the search to hidden and system folders to successfully locate it). Find the line starting with "wrapper.java.maxmemory" and make sure the value is at least 512. Save the file and restart your node.
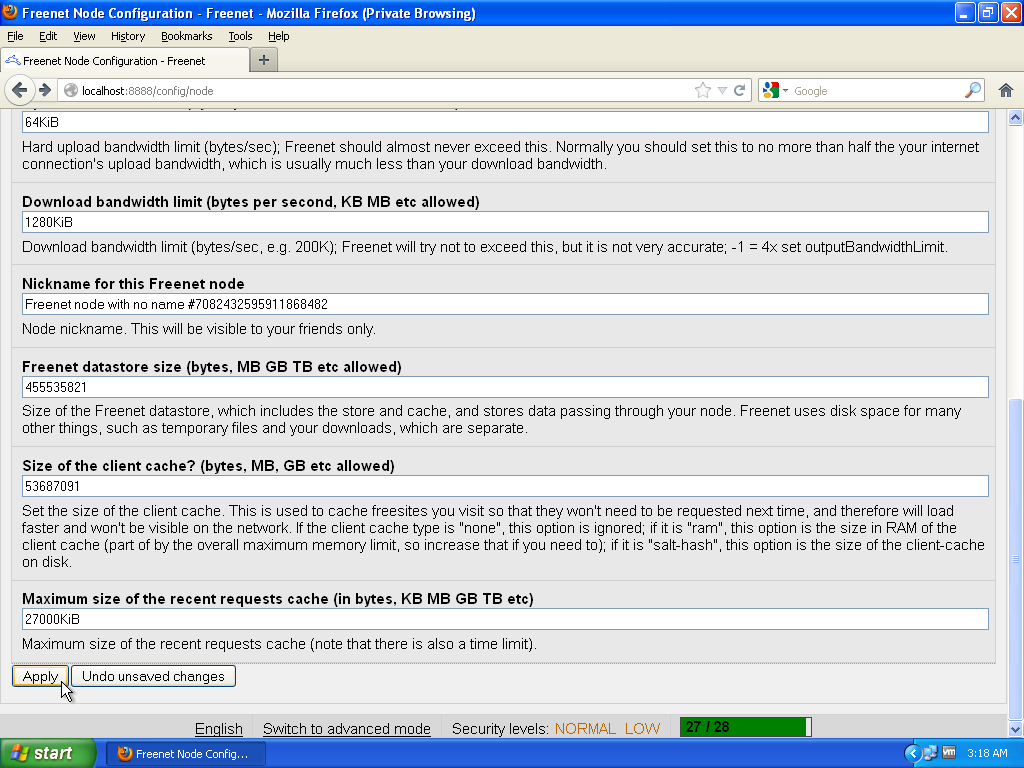
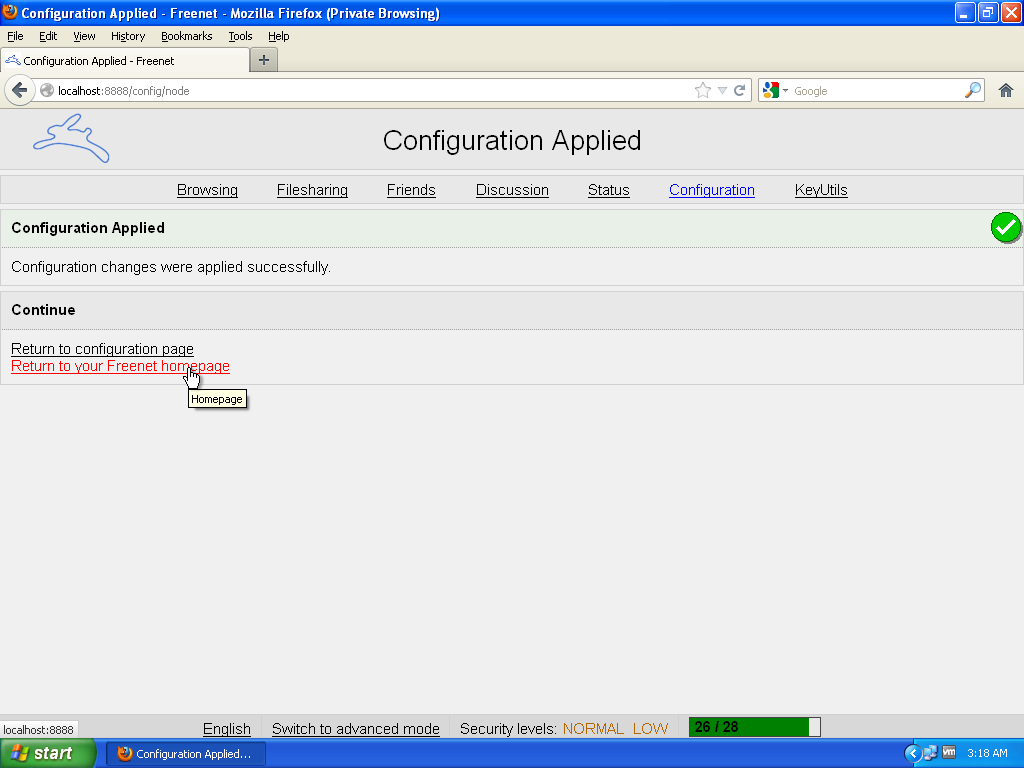
When you are done scroll to the bottom of the page and click 'Apply'.
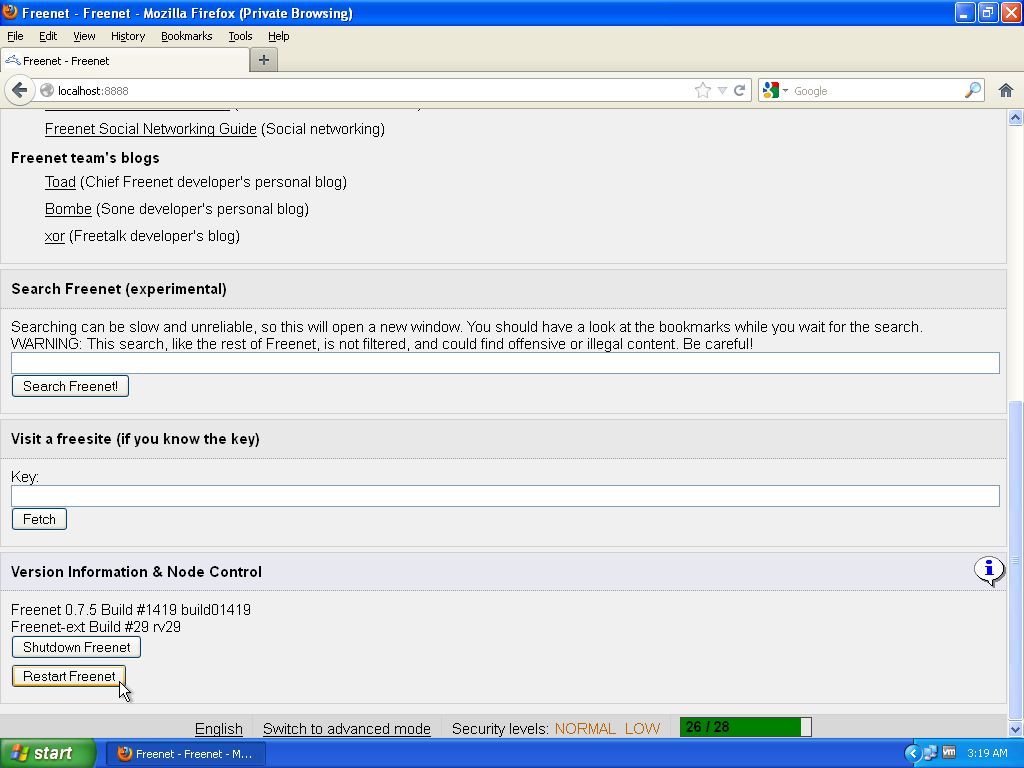
Return to the node homepage to access the restart command.
Restart the node to update the max memory setting.
Confirm the restart command.

Wait until your node finishes reloading to continue to the next step.

When you are ready to continue it's time to setup the Web of Trust plugin.